Taking up painting was something I considered for a while, but always found it too much work to purchase all the equipment and start by myself. The Bob Ross Master Set should help me ease my way into painting. In this article I want to talk about my first painting with the kit and what I learned in the process.
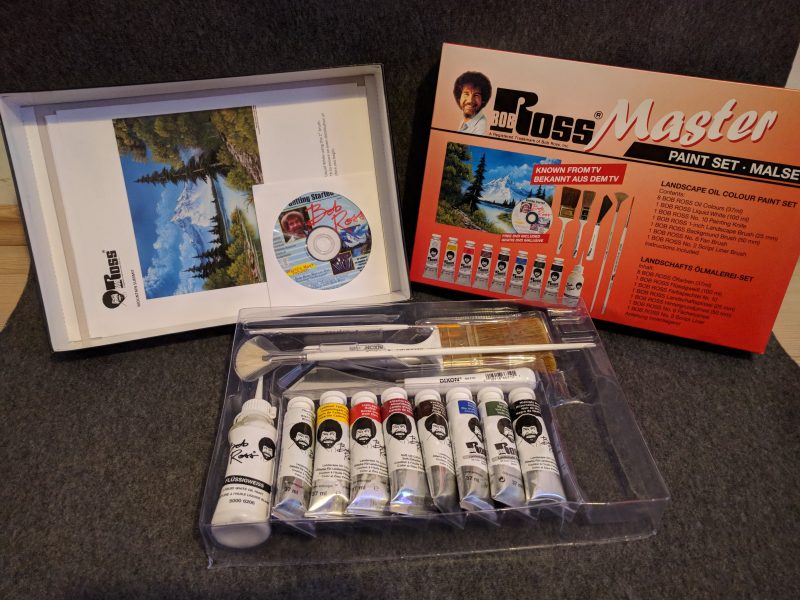

The content of the Bob Ross Master Paint Set
As one of five official Bob Ross painting kits, it provides nearly everything you’ll need to get started. It comes with all the required oil paints, three brushes and a painting knife. And of course a DVD on which Bob Ross teaches the painting “Mountain Summit” step by step.
I bought a canvas, borrowed an esael, got some odourless paint thinner, and paper plates instead of a color palette. Laptop by my side and cover sheeting generously laid out underneath the easel, I was set to go.
The first chapter of the DVD is dedicated to the correct use of the tools in the Master Set, then starts the tutorial to the painting. I was glad to have the tutorial on DVD. The possibility to pause and rewind the tutorial might have been a lifesaver for me (and the painting).
It took me around one and a half hours to complete the painting. This may be different from person to person, as I worked at a rather slow speed and paused from time to time to take photos of the progress.
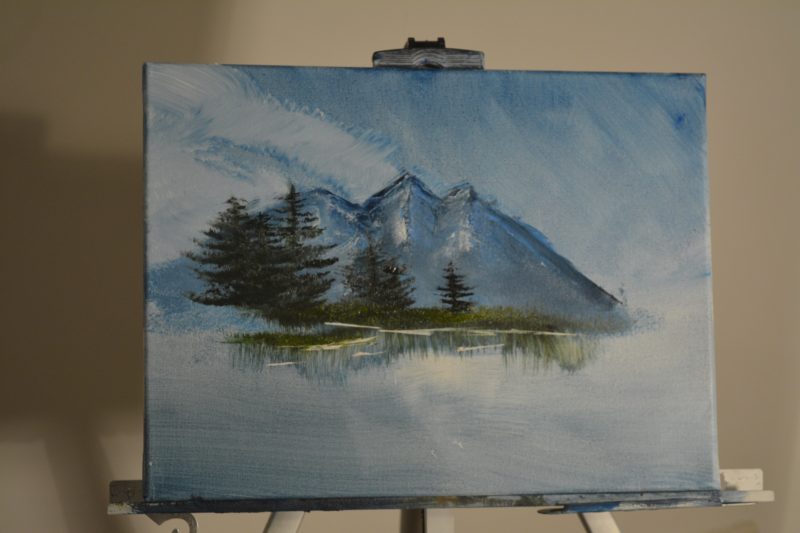
The tutorial starts off with a light blue background for the sky and river. After topping it with dreamy white clouds, Bob Ross creates the illusion of an impressive mountain while only using the knife.
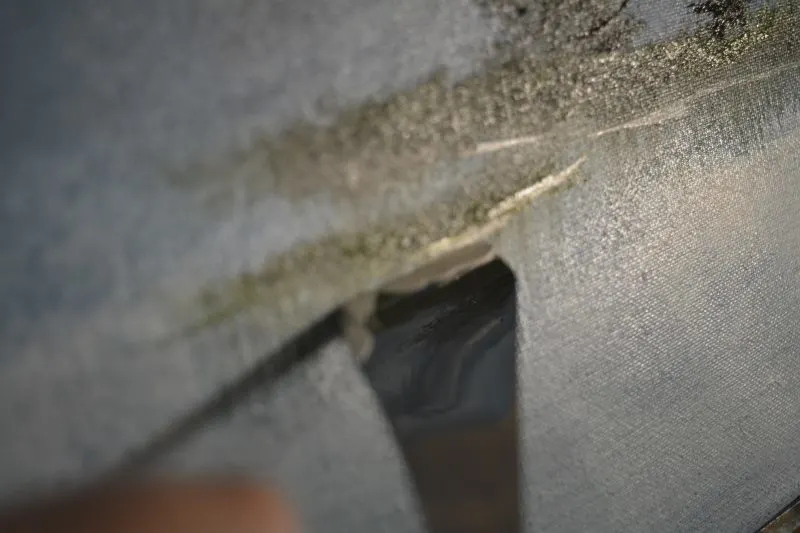
Less than a minute into the tutorial I had to pause for the first time while watching the blue background on my canvas slowly drip towards the ground. I guess that was either too much liquid white or too much blue color loaded on my brush, probably both.
I try to brush some paint off the canvas with the cleaned and dried two-inch brush. Unfortunately, this doesn’t work out as expected and I end up with blue color everywhere. Thank god for the cover sheeting.
-

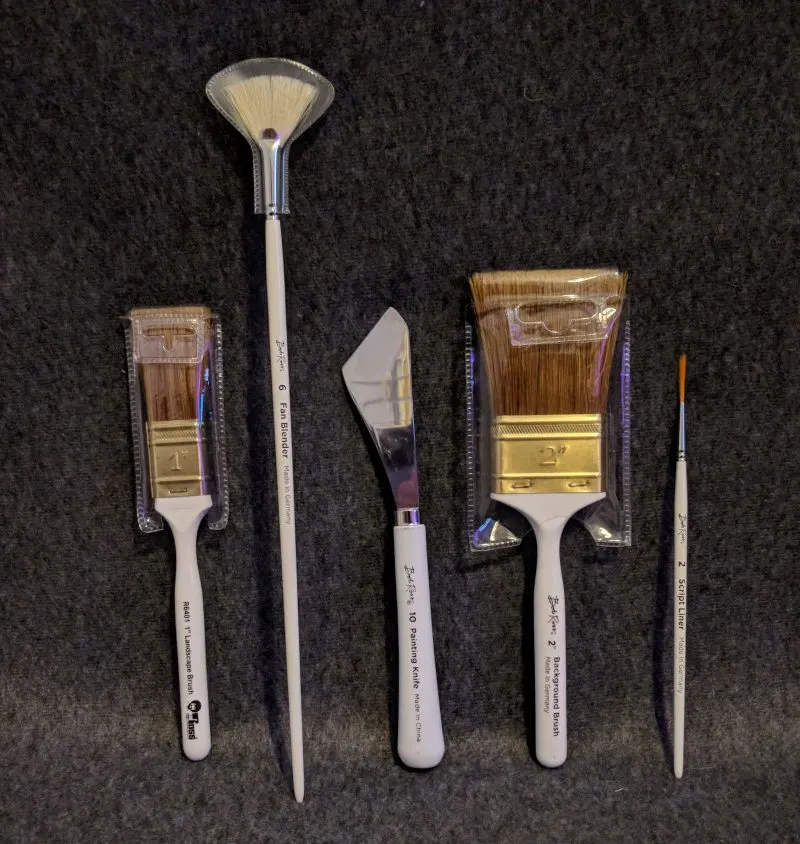
- The tools in the Bob Ross Master Set
-
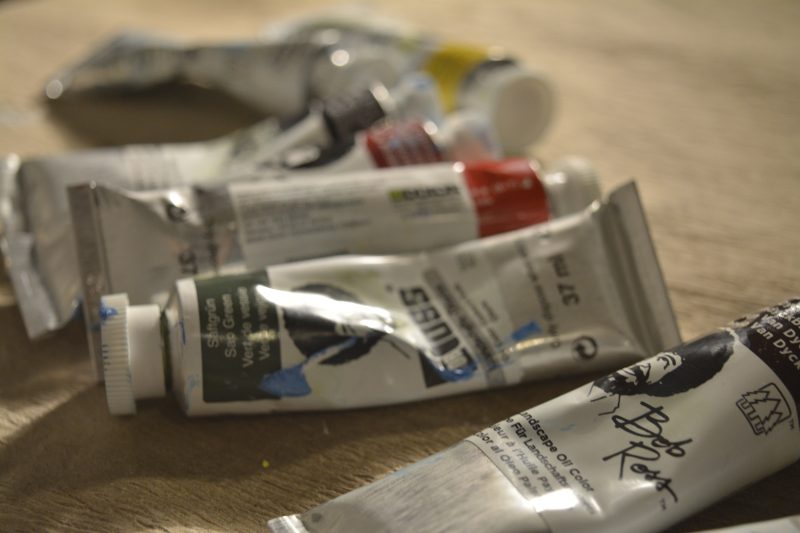
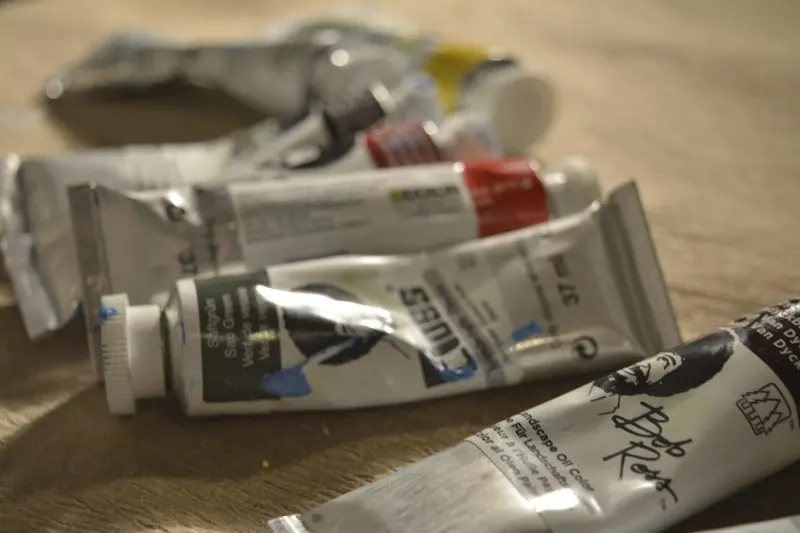
- The Master Set comes with six oil paints
-
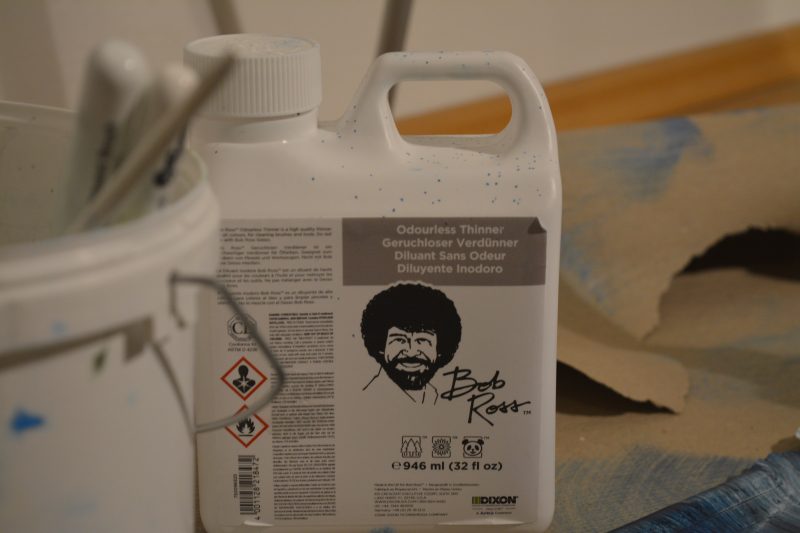
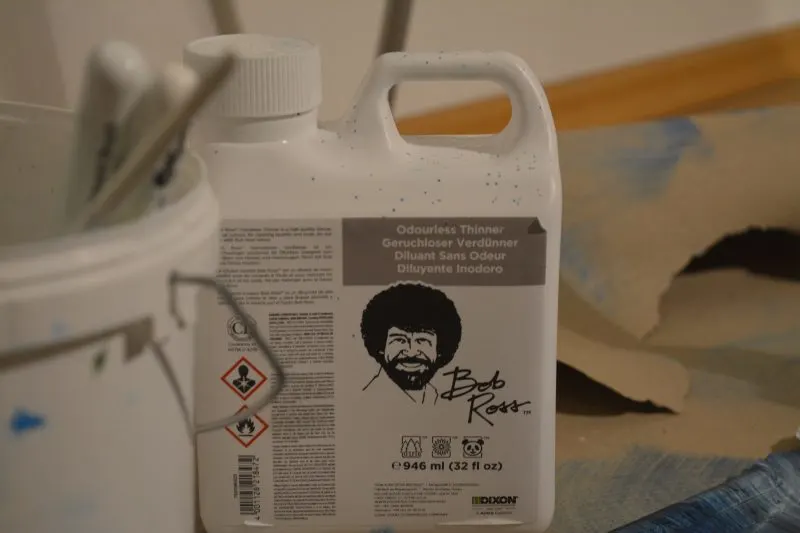
- Official Bob Ross odourless paint thinner
I take a mental note of going easy on the color from now on. Still, after applying white color atop the blue sky, my dreamy white clouds seem to move downward just slightly. Finally, I arrive at the key piece of the “Mountain Summit”.
With the help of the knife, I carefully stretch out the color on my makeshift palette as thin as possible and load the knife with a thin roll of paint. To create the sharp silhouette of the mountain, I’m supposed to barely touch the canvas with the knife.
While the motion looks easy enough in the tutorial, I find handling the knife on the canvas quite tricky. Bob Ross assures me that even his son Steve had a hard time painting mountains in the beginning. Once he had mastered the trick, he has been painting the most beautiful mountains, Bob Ross encourages me from my screen.
By the time it comes to adding white mountain slopes, using the knife feels already much easier.


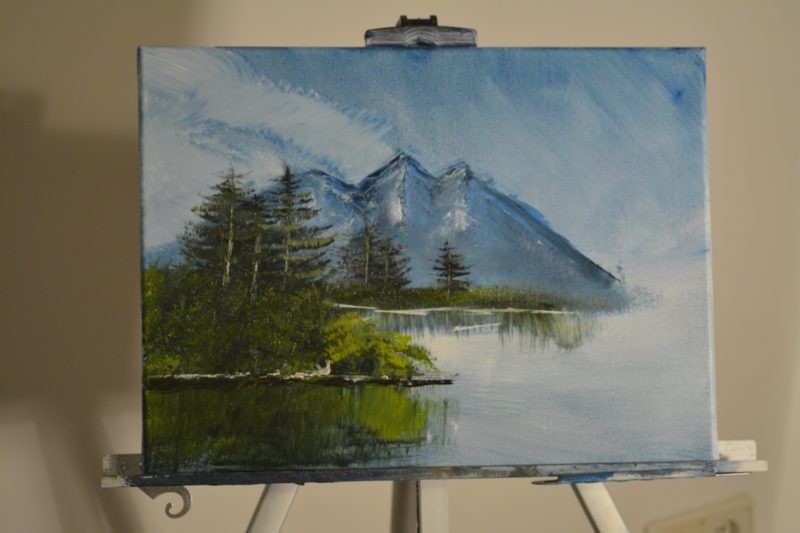
At this stage of the painting I notice how much I have to concentrate on painting deliberately and carefully. Bob Ross’ voice clearly has a soothing effect, I actually start relaxing and stop rushing things. Slowly but steady the progress on my canvas becomes visible and I’m quite proud of the mountain chain I produced.
While the mountain makes up the background, the foreground is composed of autumnal trees and bushes on both sides of a peaceful river.
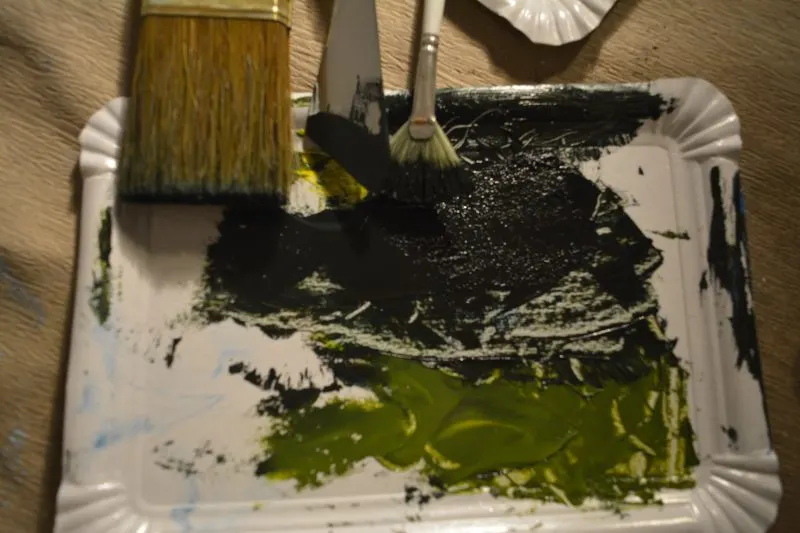
I take a new paper plate as a palette for the now required colors. Not having a proper plastic palette clearly is a disadvantage. The paper plates are not as stable as the color palette used in the tutorial. Consequentially, I can’t keep up with Bob Ross when preparing and blending colors. Also, my workflow feels somewhat hindered by constantly reaching down to my makeshift palette laying on the floor.
All the while my hands and arms are still a vibrant blue, after what I now call the “blue explosion”. But I’ve learned from my early mistakes and managed not to stain myself with any other color after that.
The tools need to be cleaned ever so often and I’ve found a cleaning routine. First, I sink the tools into a bucket with paint thinner underneath my easel. I recommend getting a large enough bucket because the bristles are then cleaned by hitting the brush against the edge of the bucket. The bucket I used was rather small at a volume of 5 liters (1.3 gallons) and I had to be careful when shaking the residue out of the bristles. Therefore my cleaning routine had an additional step, where I wiped the tools dry on the cover sheeting.
-
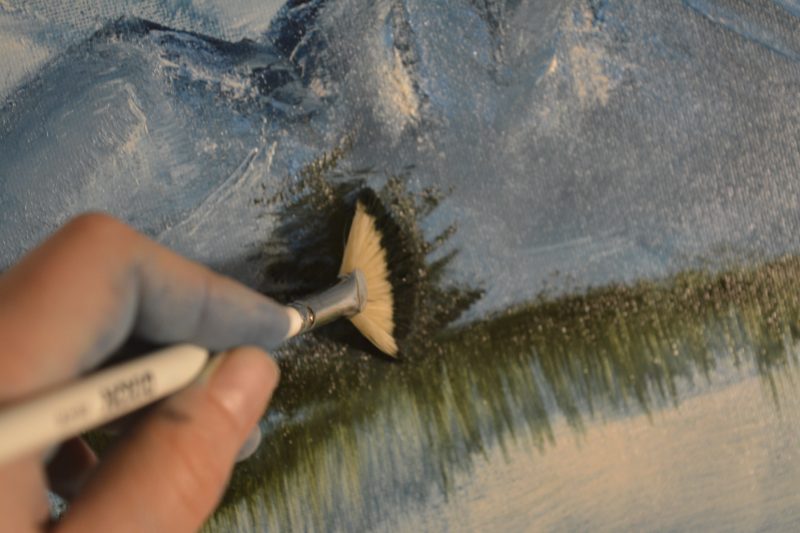
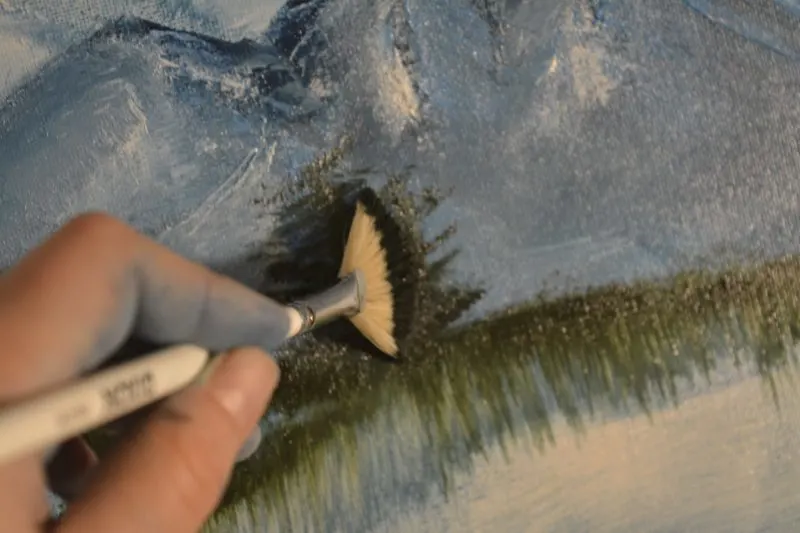
- Use the fan brush to paint evergreens
-
- Middleground
-

- Happy little tree equipment
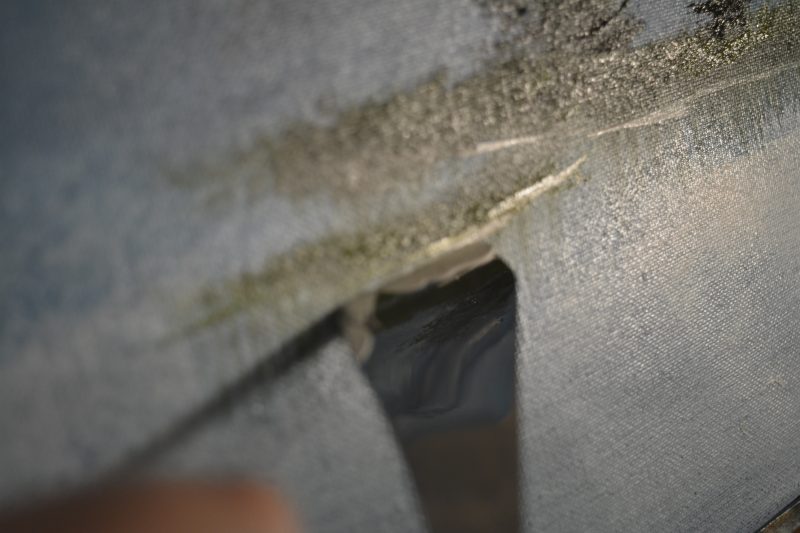
Coming back to the painting and the forest. The fan brush is used to paint the ground at the edge of the river and with subtle downwards motions of the dry two-inch brush, the paint is being blurred. Later, this will illustrate the reflection of the trees in the river.
The way the painting is composed, the water in the river is created by the negative between the forest in the middle ground and bigger trees in the foreground. These happy little trees are the next objective in the painting.
The first trees are part of the middle ground, right underneath and in front of the mountain. My very first try at a tree looks less like an evergreen, but a huge bush. I learn that the darker the oil paint, the less fluid it is. Their heavy texture makes them harder to blend together and at the same time, they tend to stick more to the bristles.
With the help of a small amount of liquid white added to the mix, the paint becomes more fluid. For my second try at a tree, I make sure to load my fan brush with as much paint as possible. The paint comes off easily now and I’m surprised how a little bit of liquid white makes painting trees that much easier.
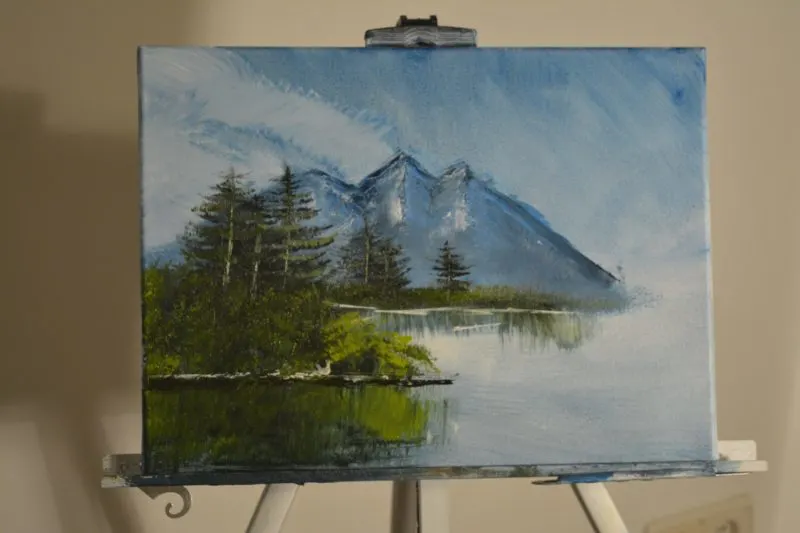
Next are the big trees in the foreground. The huge branches are even more fun to paint. In the tutorial on screen, Bob paints the trees in an even more fluid motion. It’s all about repetition and training.
After finishing with the beautiful happy trees, I decide to invest in a proper palette and a brush cleaning system for my next painting. Although more professional equipment won’t improve my painting skills, it will improve the experience. And by now I know I’m going to paint more regularly.
Happy little accidents
When I started my painting, I went for an exact replica of Bob Ross’ “mountain scene”. Looking back, this is very unlikely and a bit naive, more so for a first-time painter. I’ve realized quickly I’m not yet able to copy every of Bob Ross’ brush strokes. But that’s not the goal of the exercise.
-
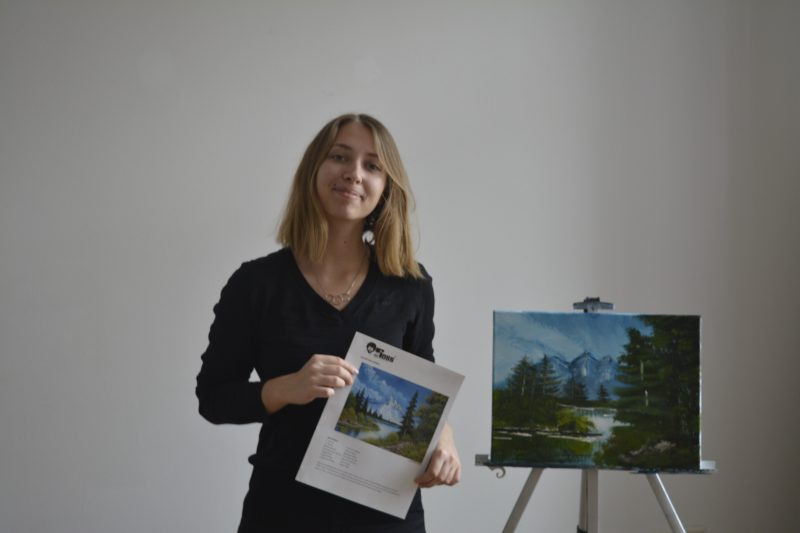

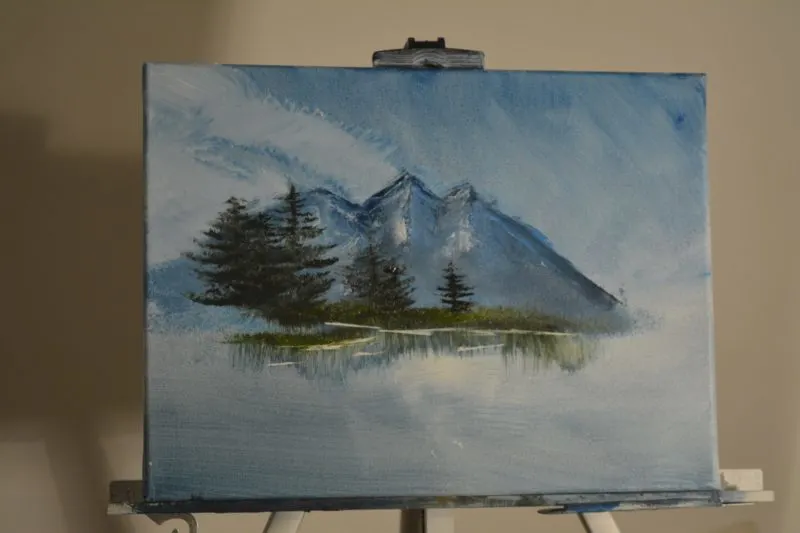
- Finished painting
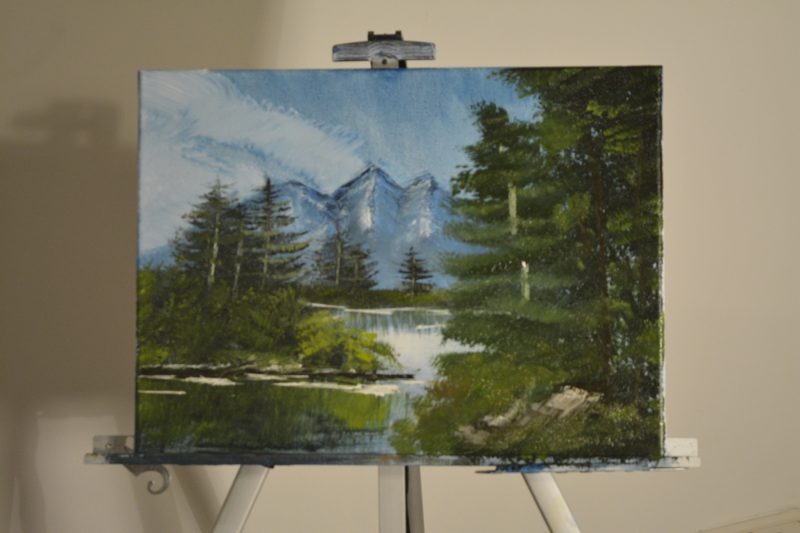

The kit and the tutorial are primarily designed to make beginners acquainted with painting equipment. It gives guidelines on how to use the brushes and knife to the best effect. It’s not about getting the same painting as Bob Ross, but being creative and also making your own decisions.
In the end, it is your creative process. There’s no need to follow the tutorial strictly. It’s no “color by numbers” painting. Although, I would recommend listening to Bob Ross’ advice when it comes to utilizing the tools. Especially when you’re a beginner to painting equipment like me.
The most precious thing I learned while painting was to relax and find joy in creating something.
It’s beautiful how rewarding the process itself feels. In the end, I felt proud to have finished the tutorial and to know where my capacity lies. Hands blue, cover sheeting blue, easel blue – I don’t regret it.
I didn’t expect to have as much fun at painting as I did. Seeing the outcome, I’m actually proud of myself, even though it didn’t fully live up to my high standards. I’m already thinking about my next painting. If I can do it, so can you.
Let yourself be convinced by a longer review on the Master Set, you can find it right here.