Bob Ross never painted animals in his 'Joy of painting' series except for two, a small bird in season 25, episode 8 'Cypress swamp', and a squirrel in season 23, episode 2 'Forest edge'.
However you might want to complete, upgrade or fascinate your painting, whether a Bob Ross copy or not, with one or more animals. If you are very skilled or have learned how to, it will be easier to paint the animal in his original shape and colors. If, like myself, you only have basic skills, you can prefer to draw the animal in silhouette style which is far more easier. And that's exactly what this article is about!
1. Choose a painting (Bob Ross copy or not) where you wish to place one or more animals in it. Make certain that the painting is suitable for animal(s) to be placed in, space wise as well as environmental wise. Normally, you're not gonna put a dinosaur inside a very dense forest, a housecat on a mountain top, a kangaroo in a tree or a giraffe in the snow.
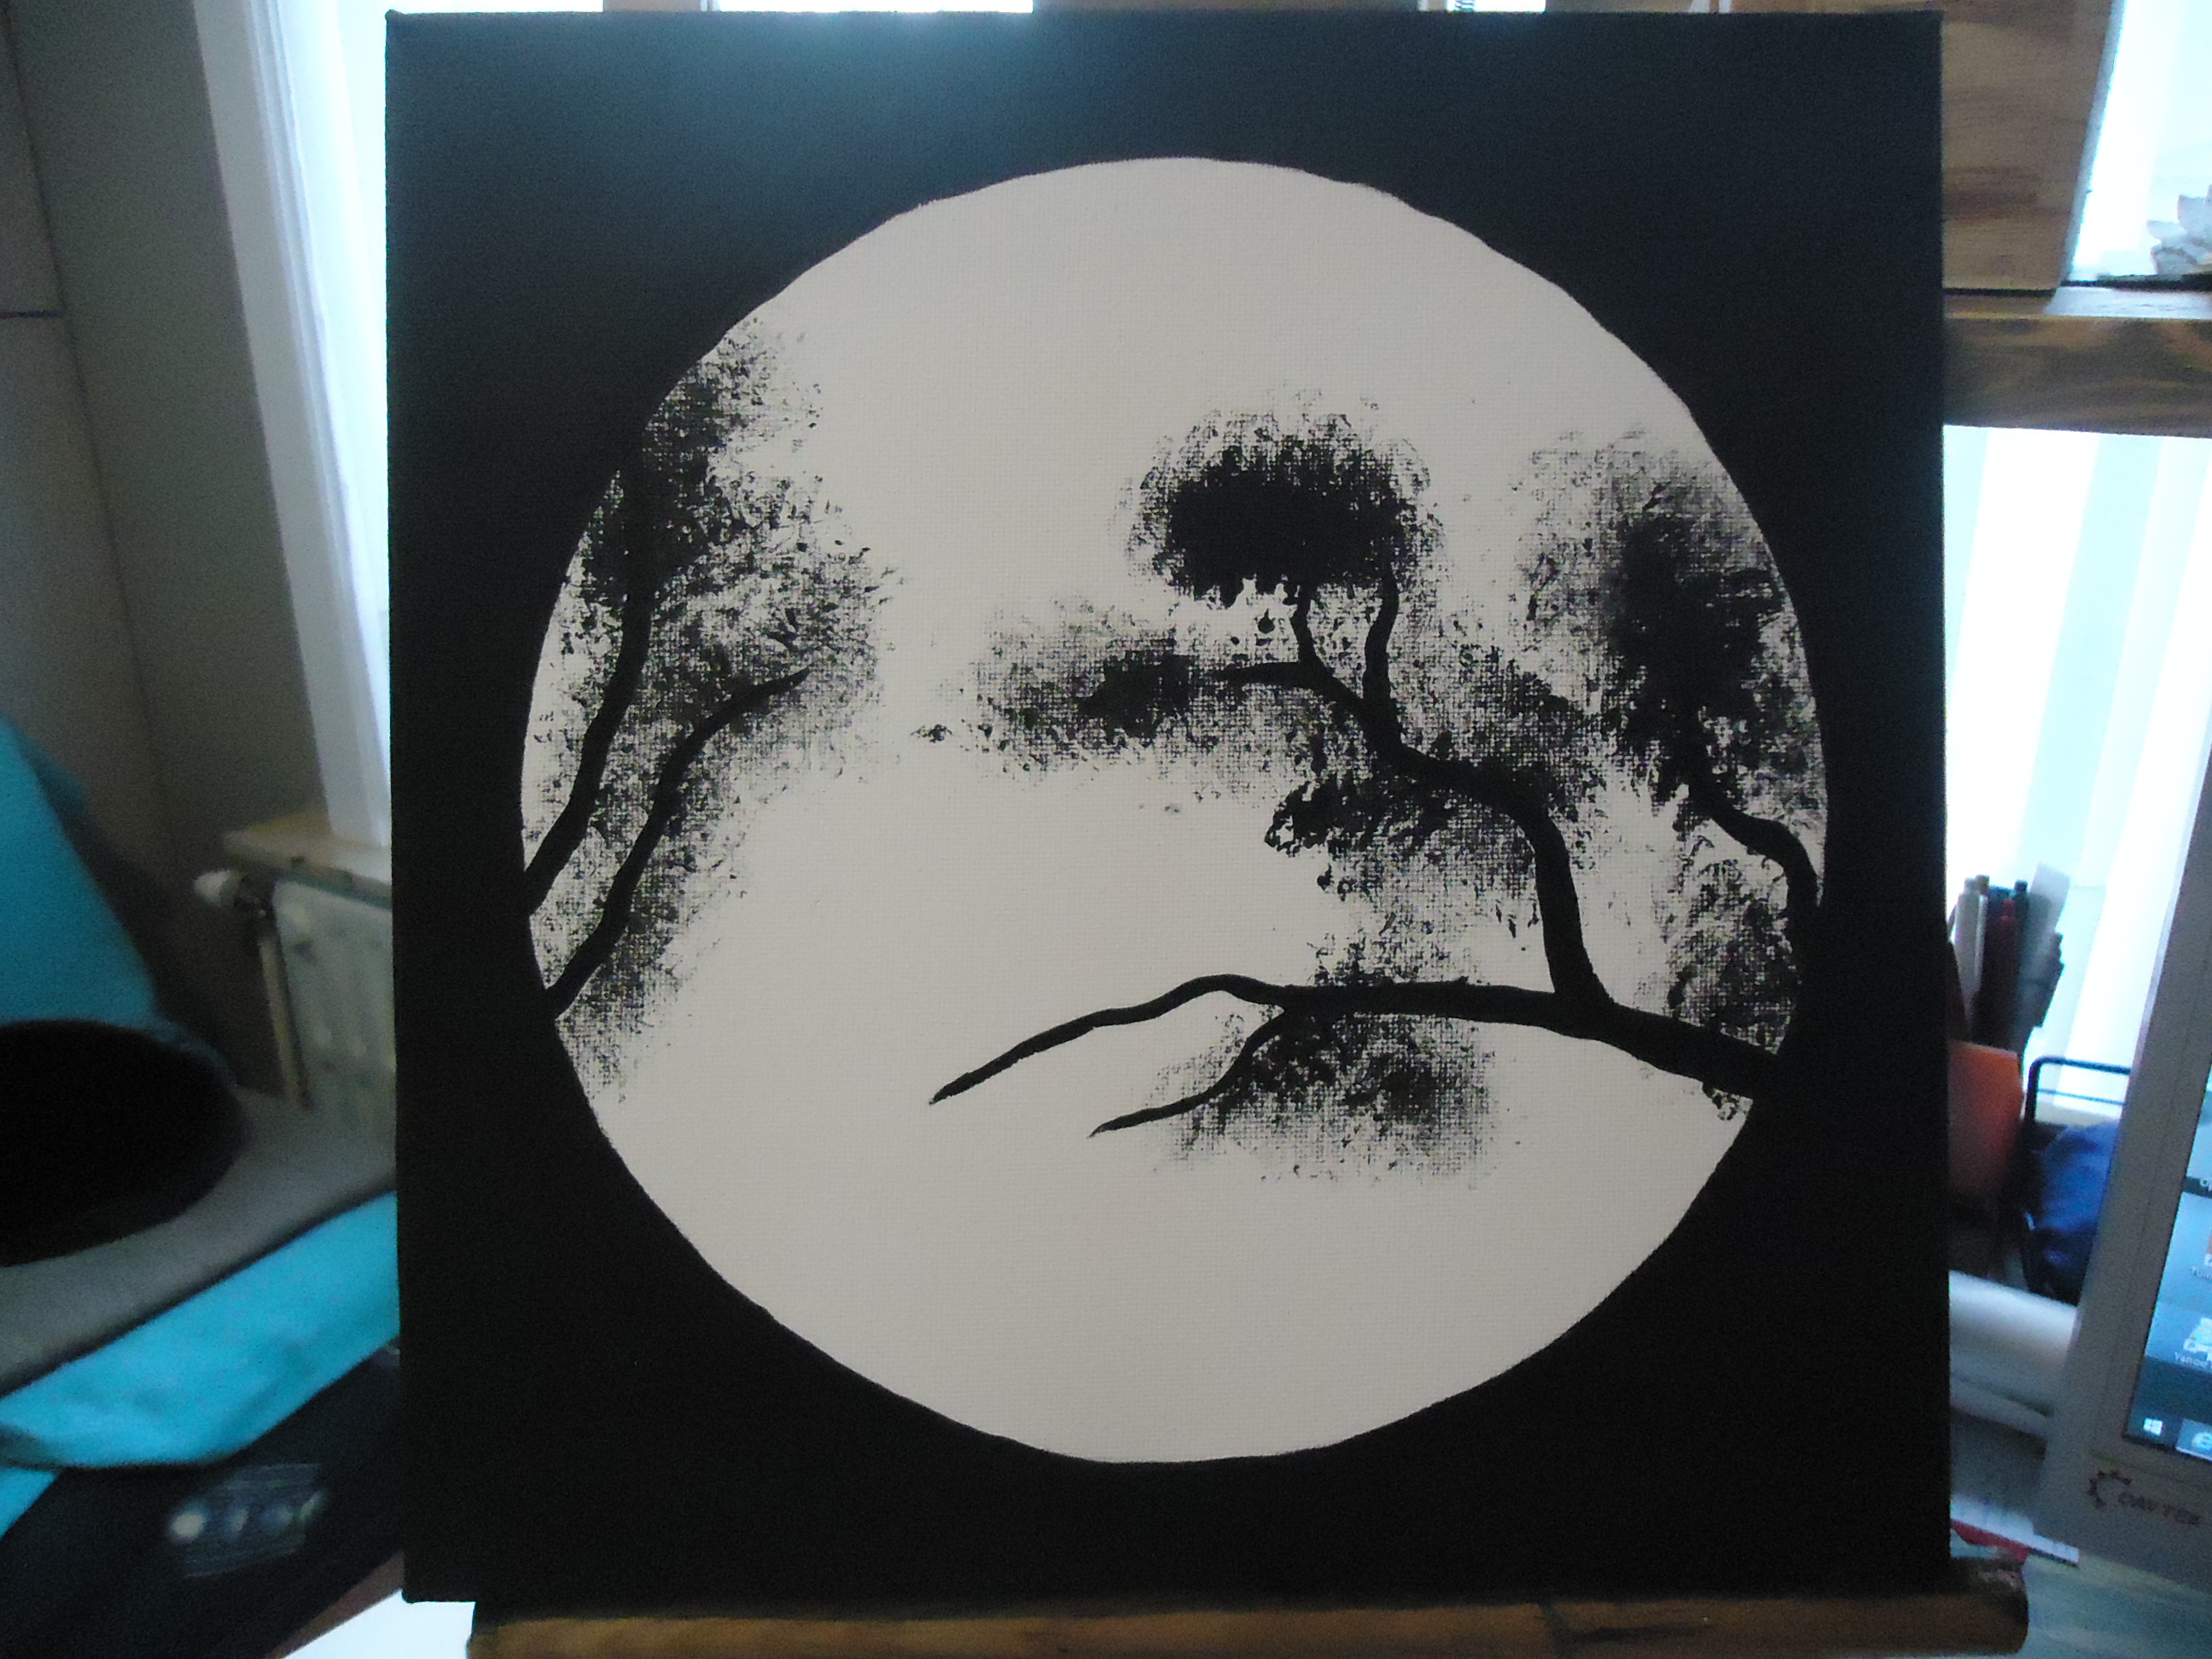
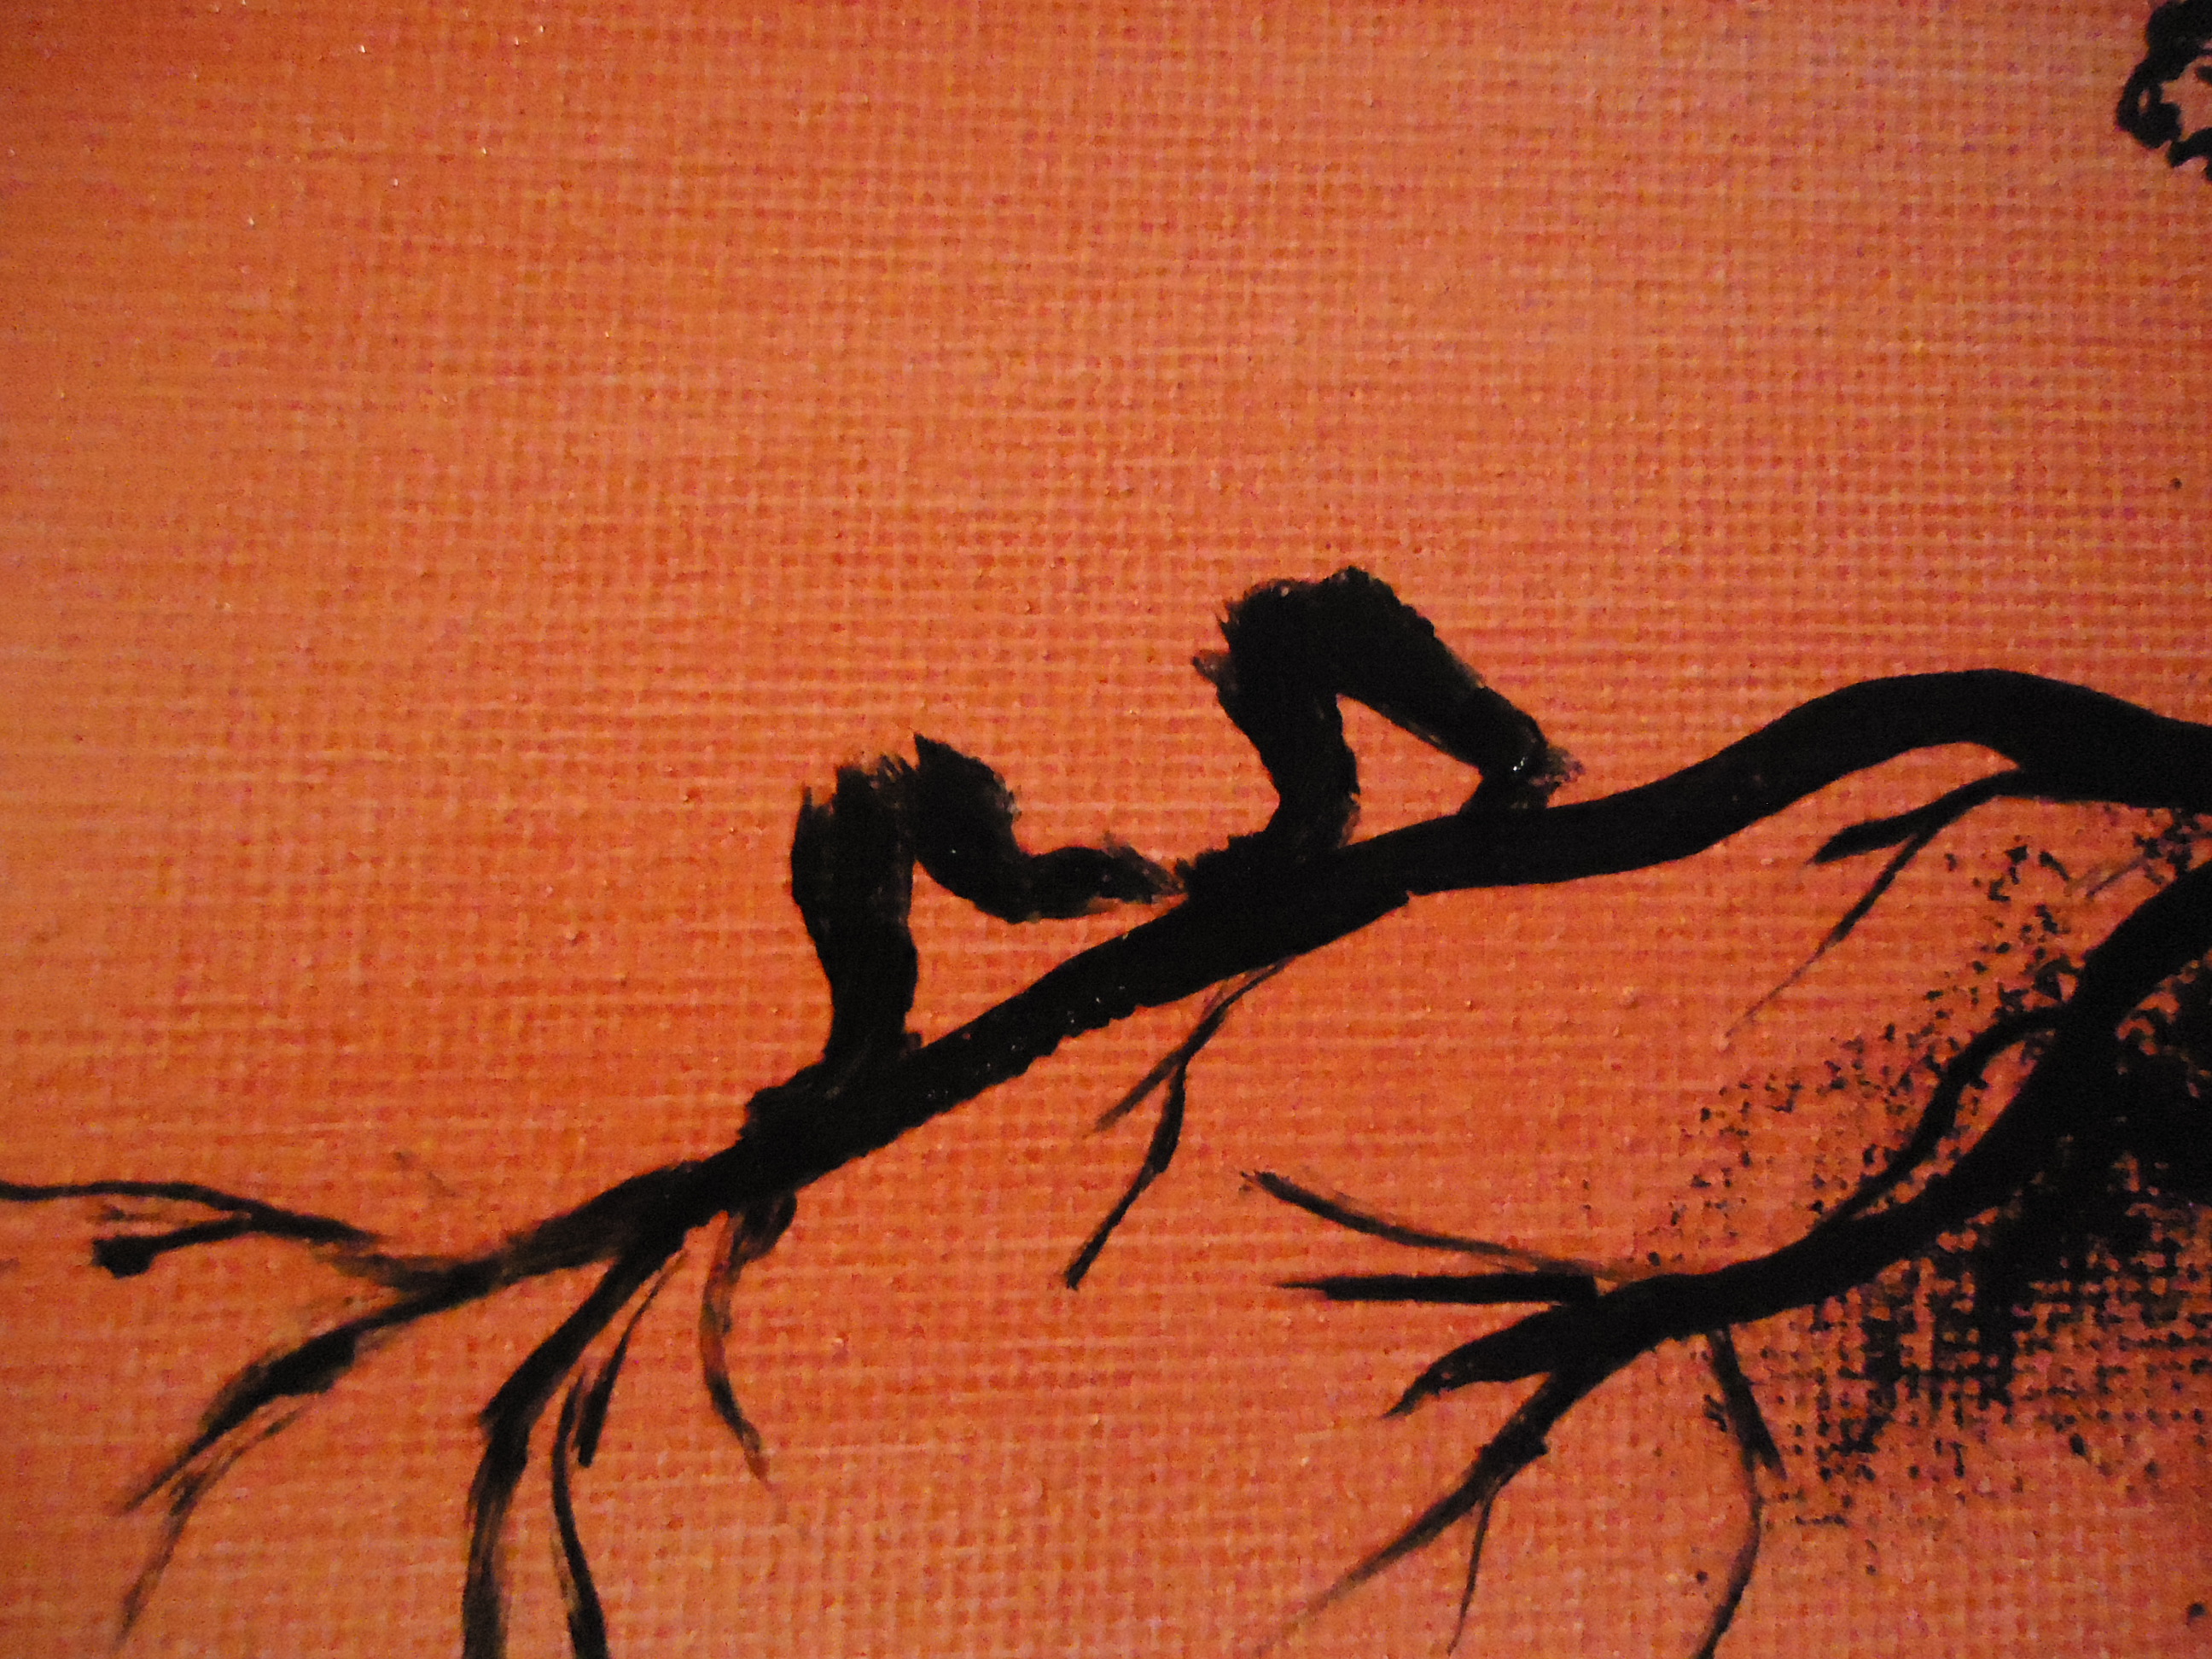
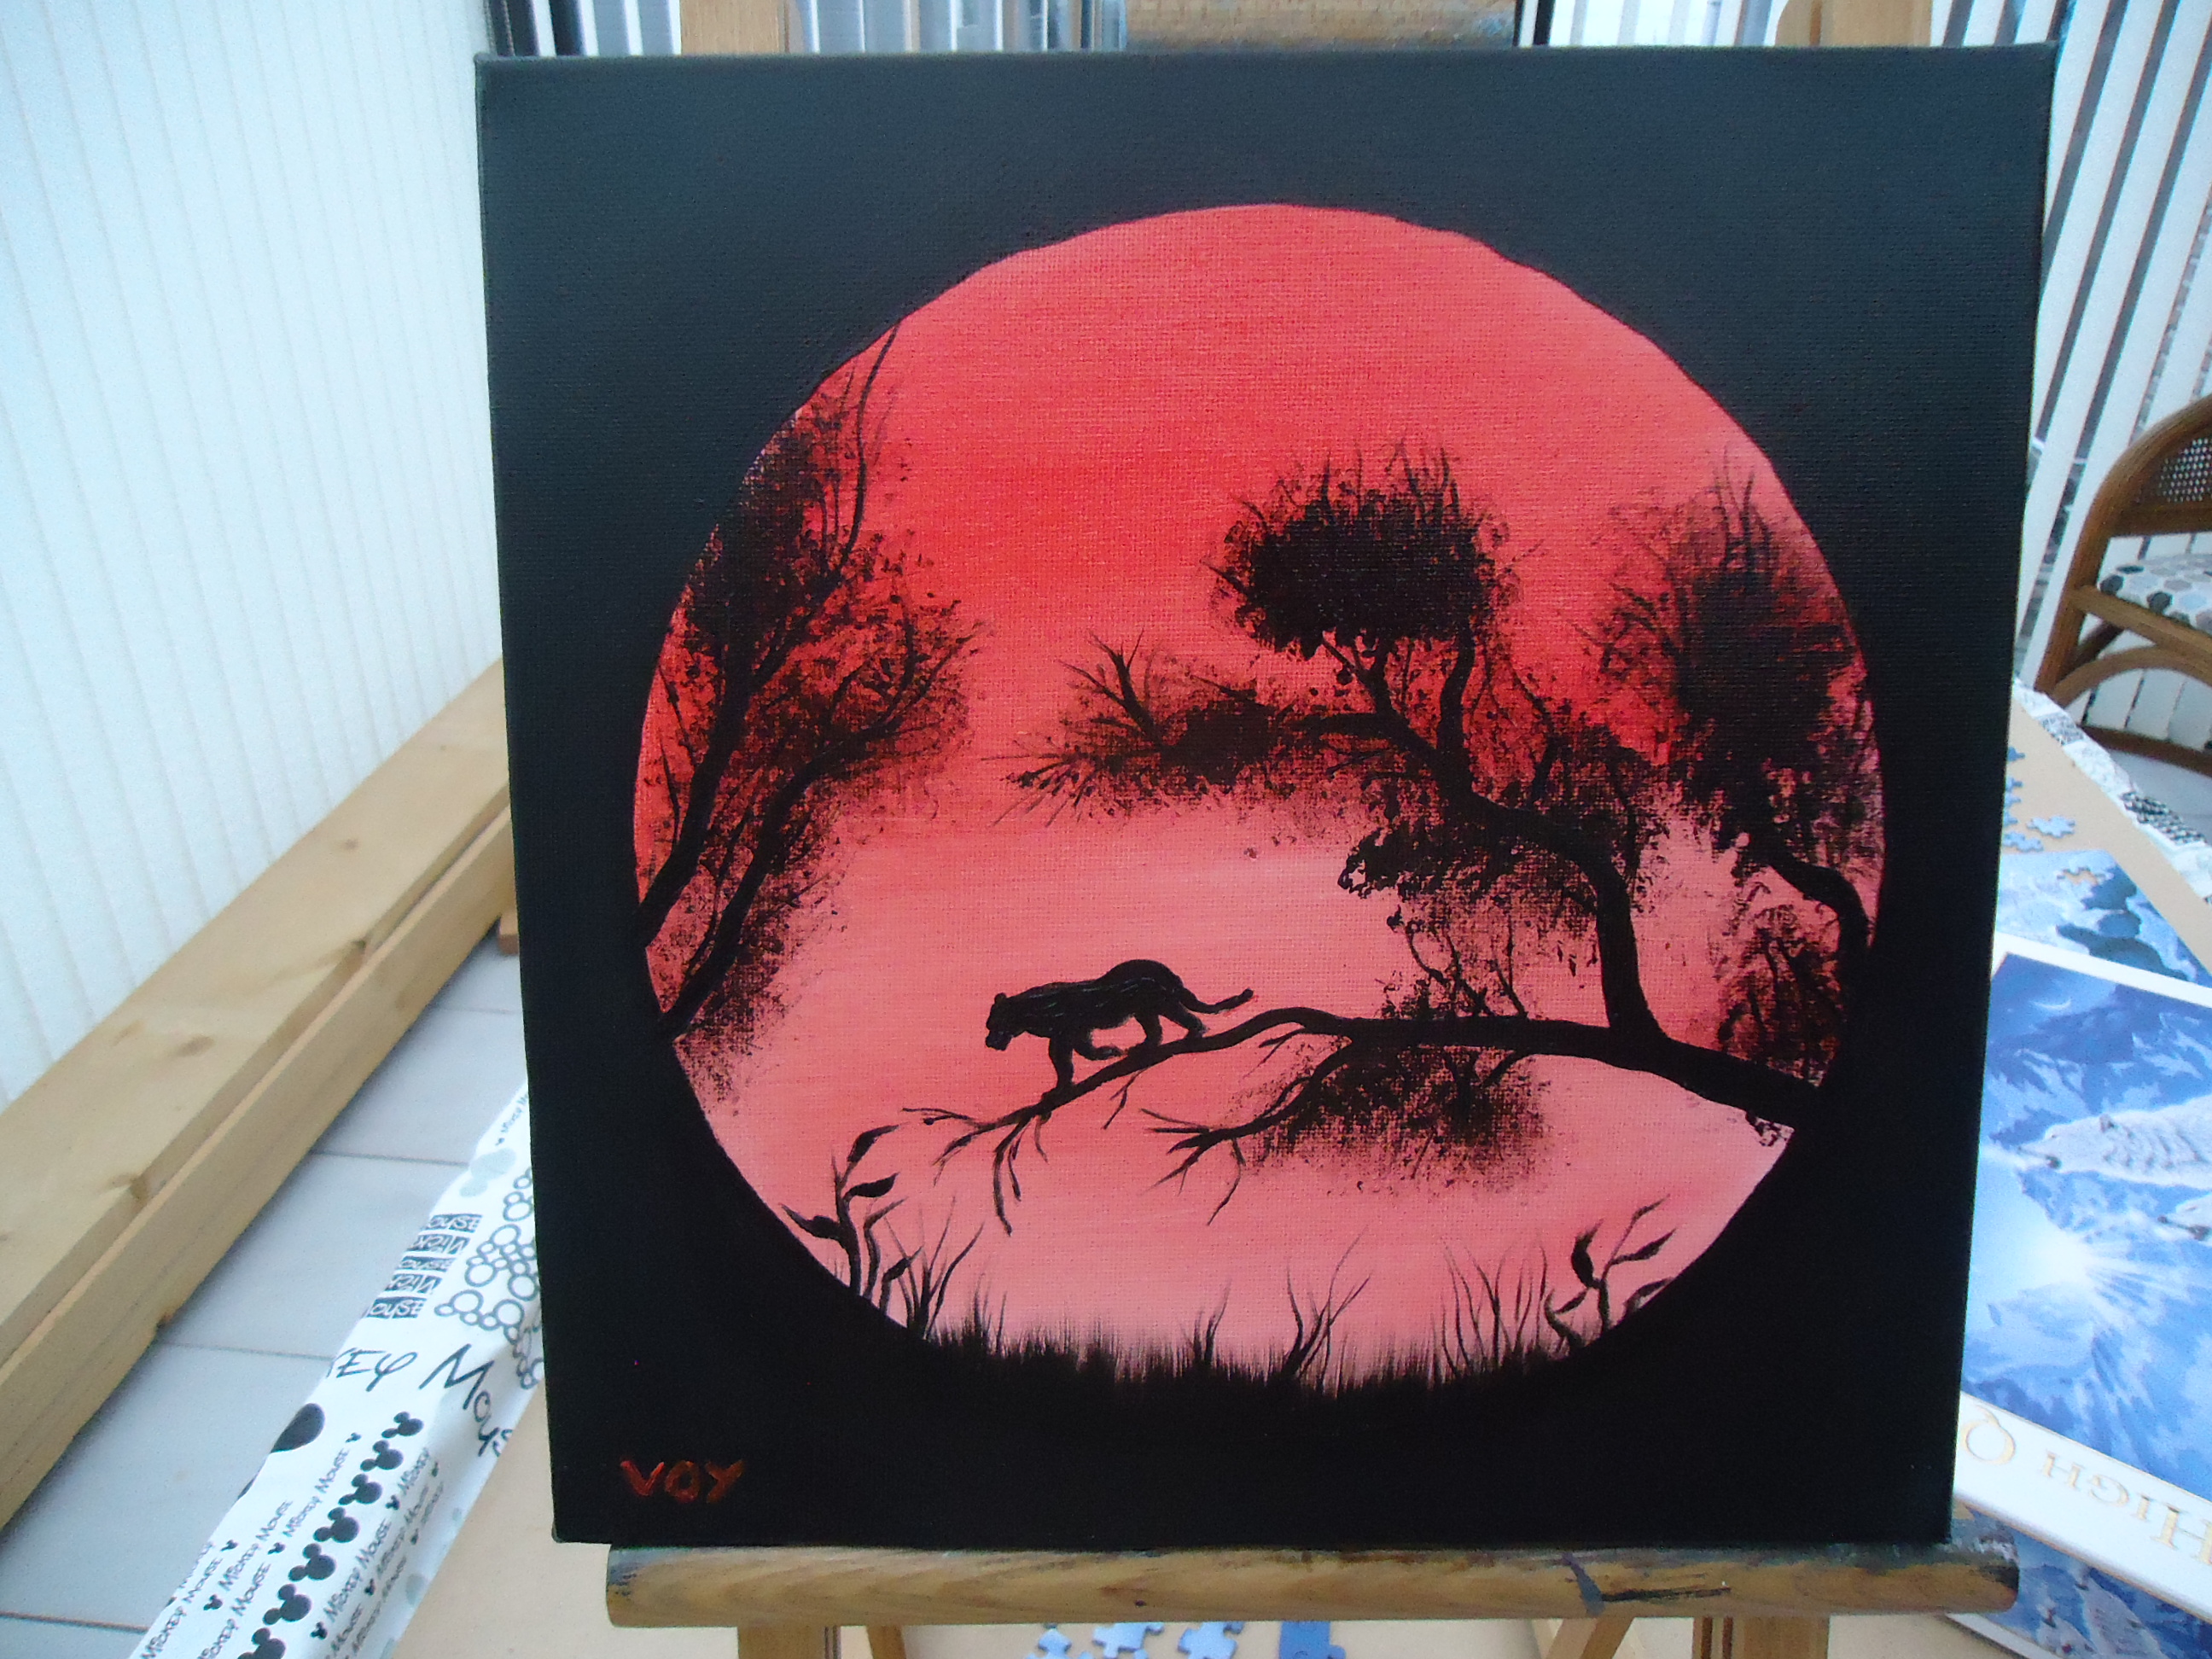
The chosen environment was a tree branch, almost centered in the painting.
2. Although no obligation, it is recommended that you place/paint the animal as the last item before finishing your painting. Not only will you have good control over its size and correct location on the painting, you will also be able to better place it in a suitable pose (e.g. standing position on a boulder, tree, lying down, etc...).
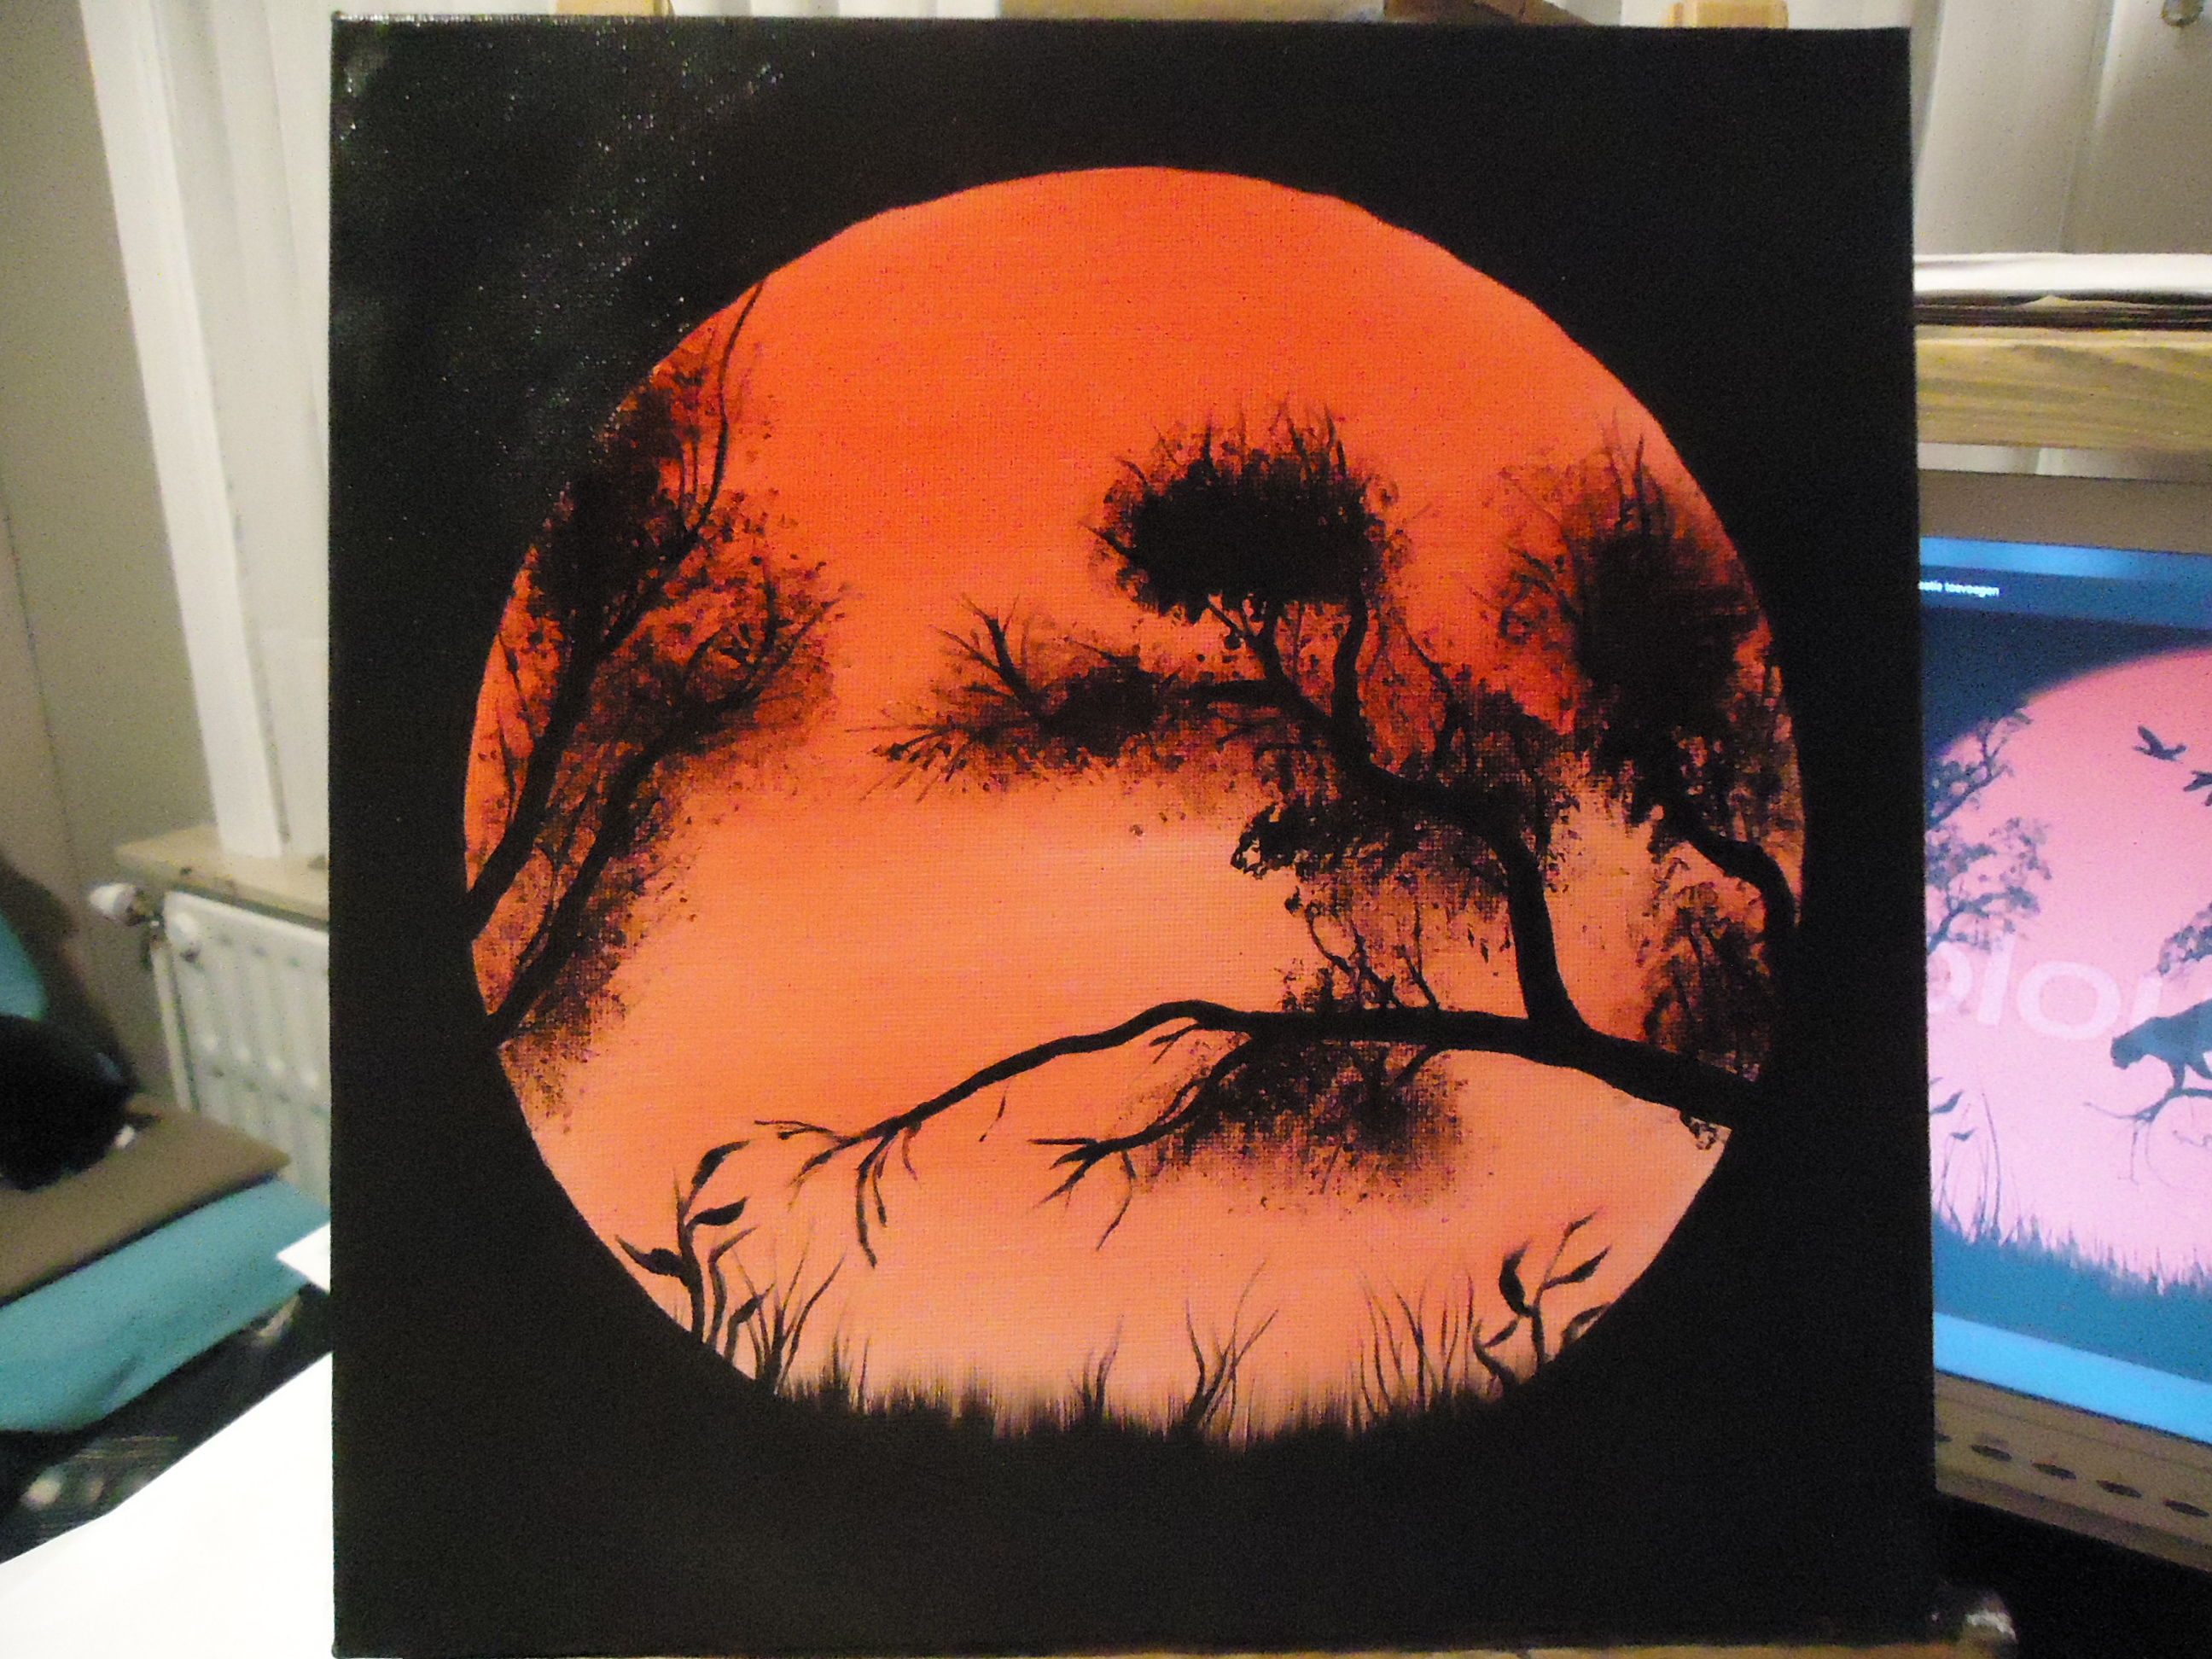
Painting is completely finished, now I have all the time and space to place my silhouette animal in.
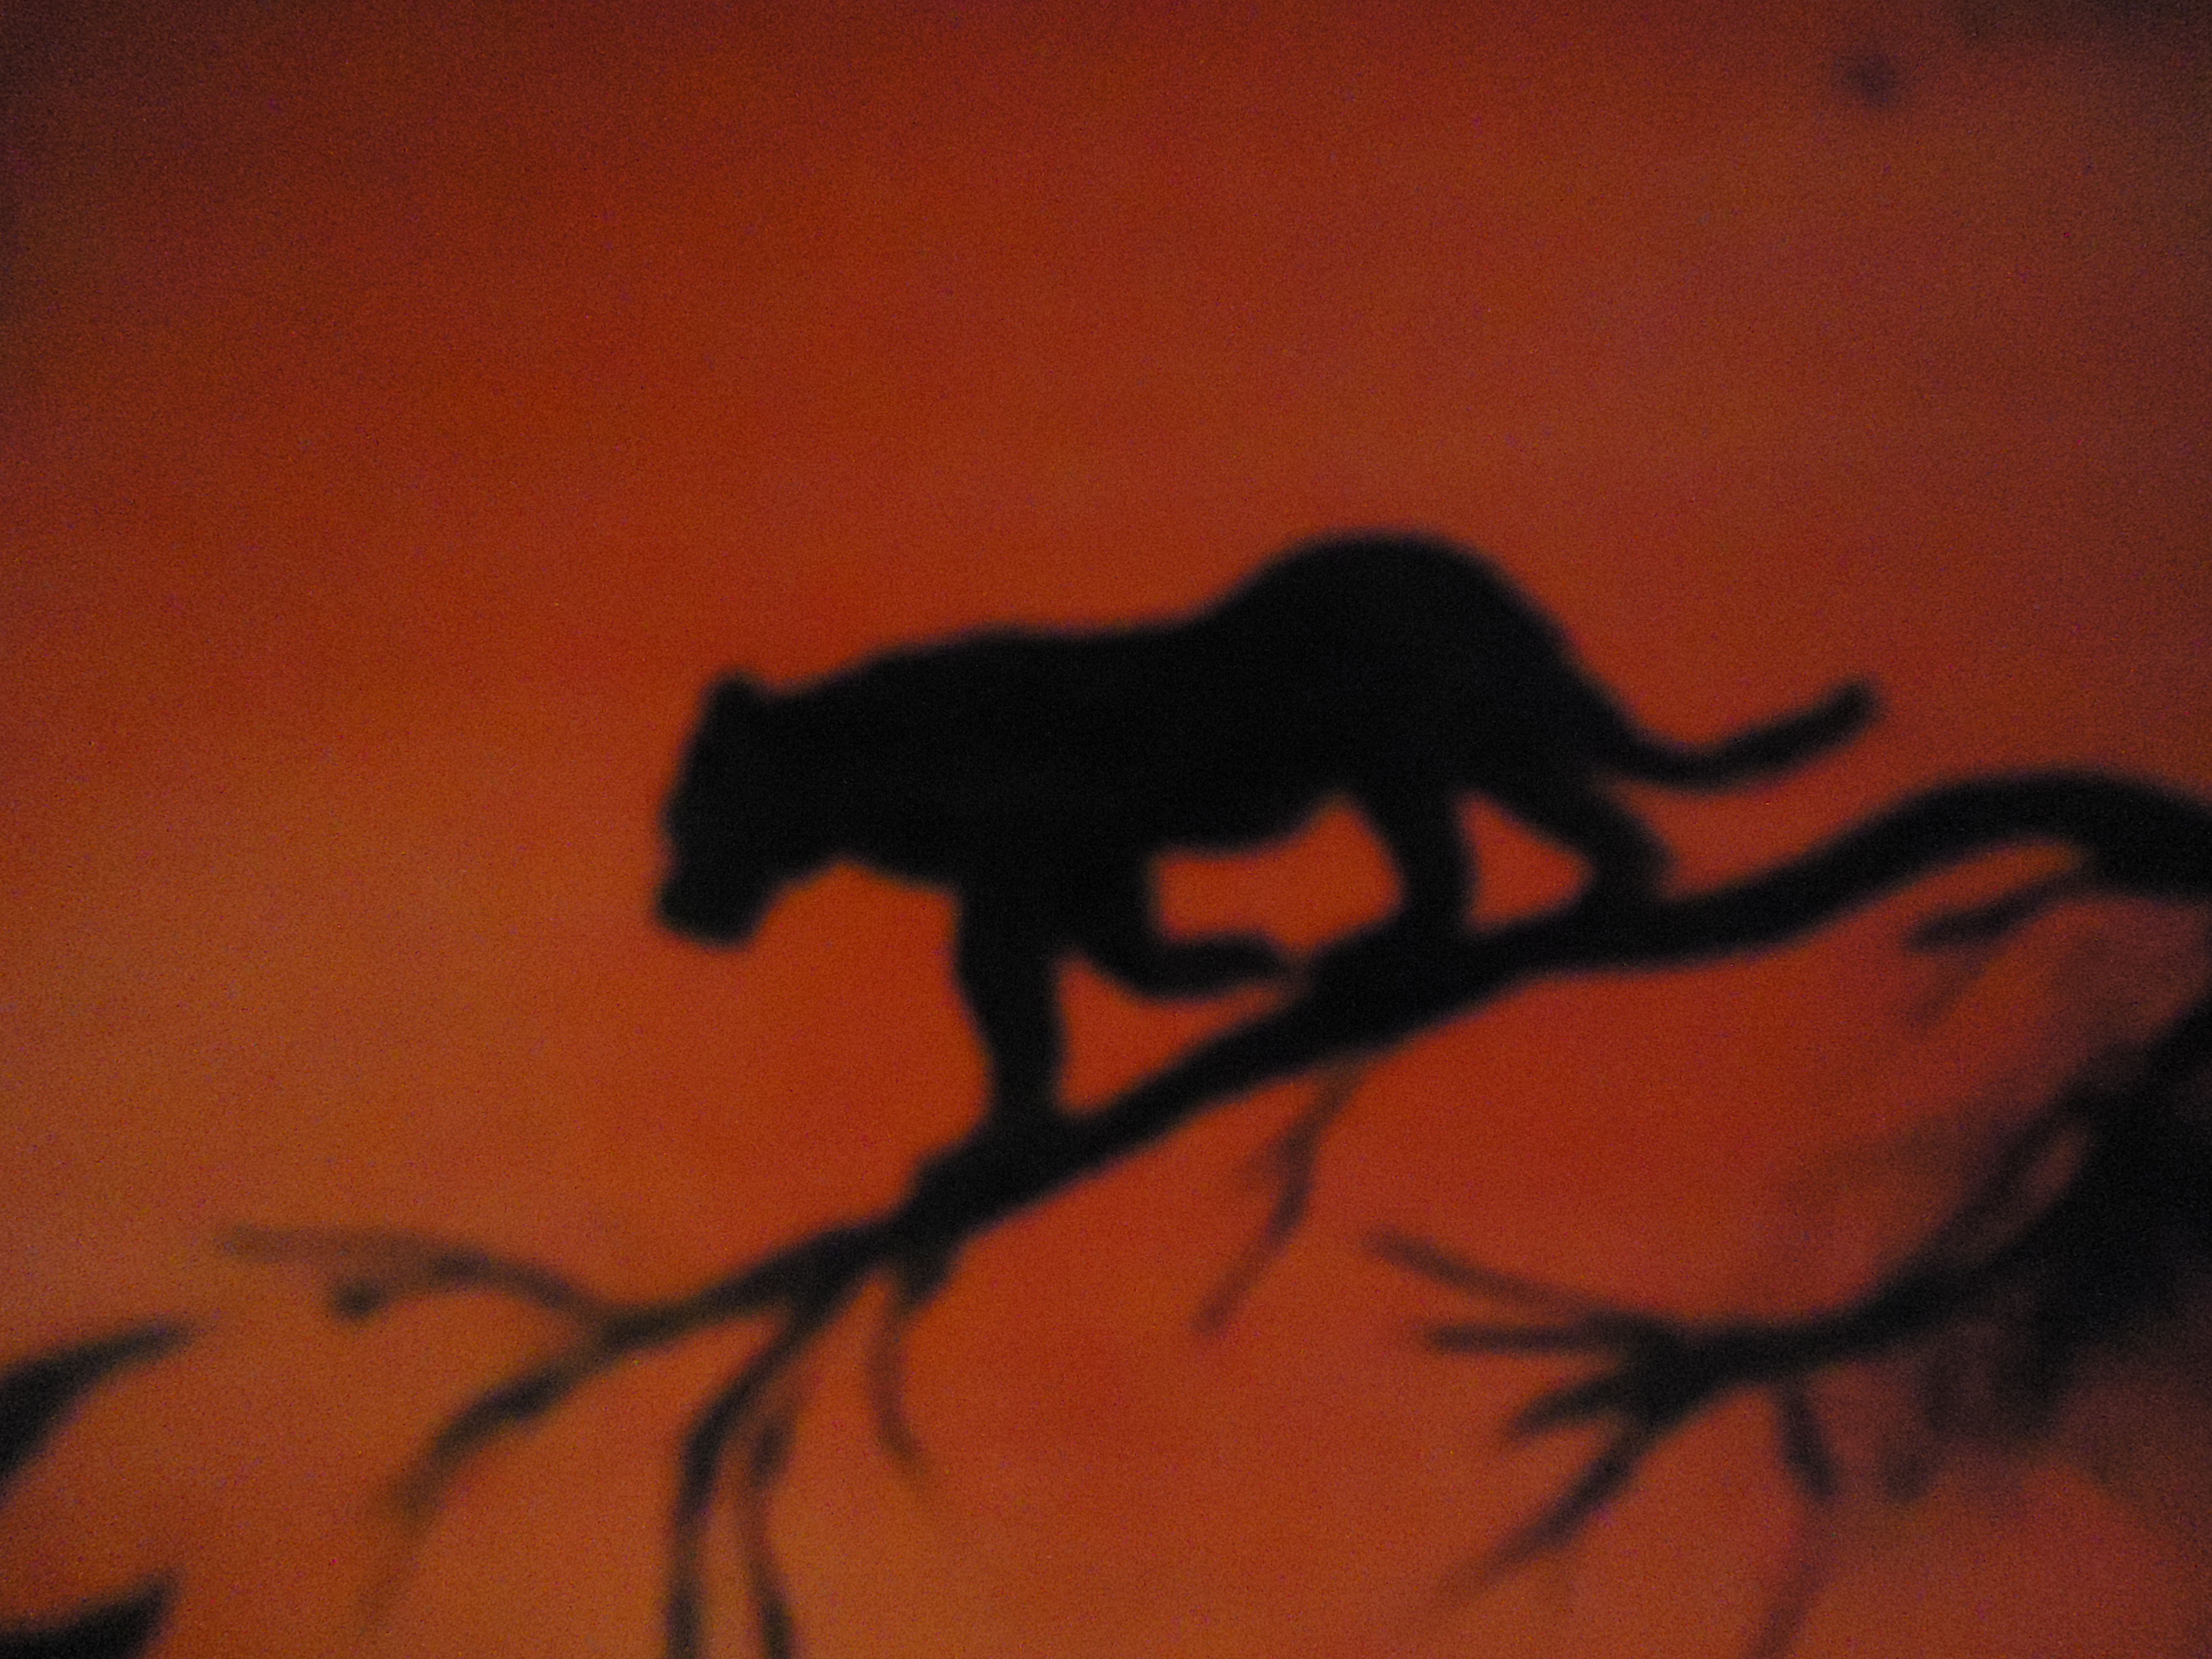
3. Find the example of the animal you wish to paint. That can be either your own picture or one you lent from the internet or a book (beware of copyrights!!). If you can find a dark or silhouette example, so much the better. If you wish to use a colored one, you will need to darken it yourself by use of Photoshop or similar programs. That way it will be easier for you to paint it from that example
4. Preferably, print out the animal you wish to put in your painting. If possible, print it with about the correct size. Place that print next to you and start drawing/painting it with your desired brush. Most of the time, that will be a script liner, liner brush or another small brush. Use very dark (brown and black) paint or 100% black (ivory or midnight black). The use of paint thinner can be necessary if you are painting on one or more other layers.
Start from the bottom by painting its paws (if the subject animal has paws of course!). That way you will still be able to correct the body size if you were to have painted the paws too little or too big.
Look for reference points: where do the paws stop, where is the head located and in what position, is the back straight or not, is the belly round or flat, is there a tail, or a horn ,etc...
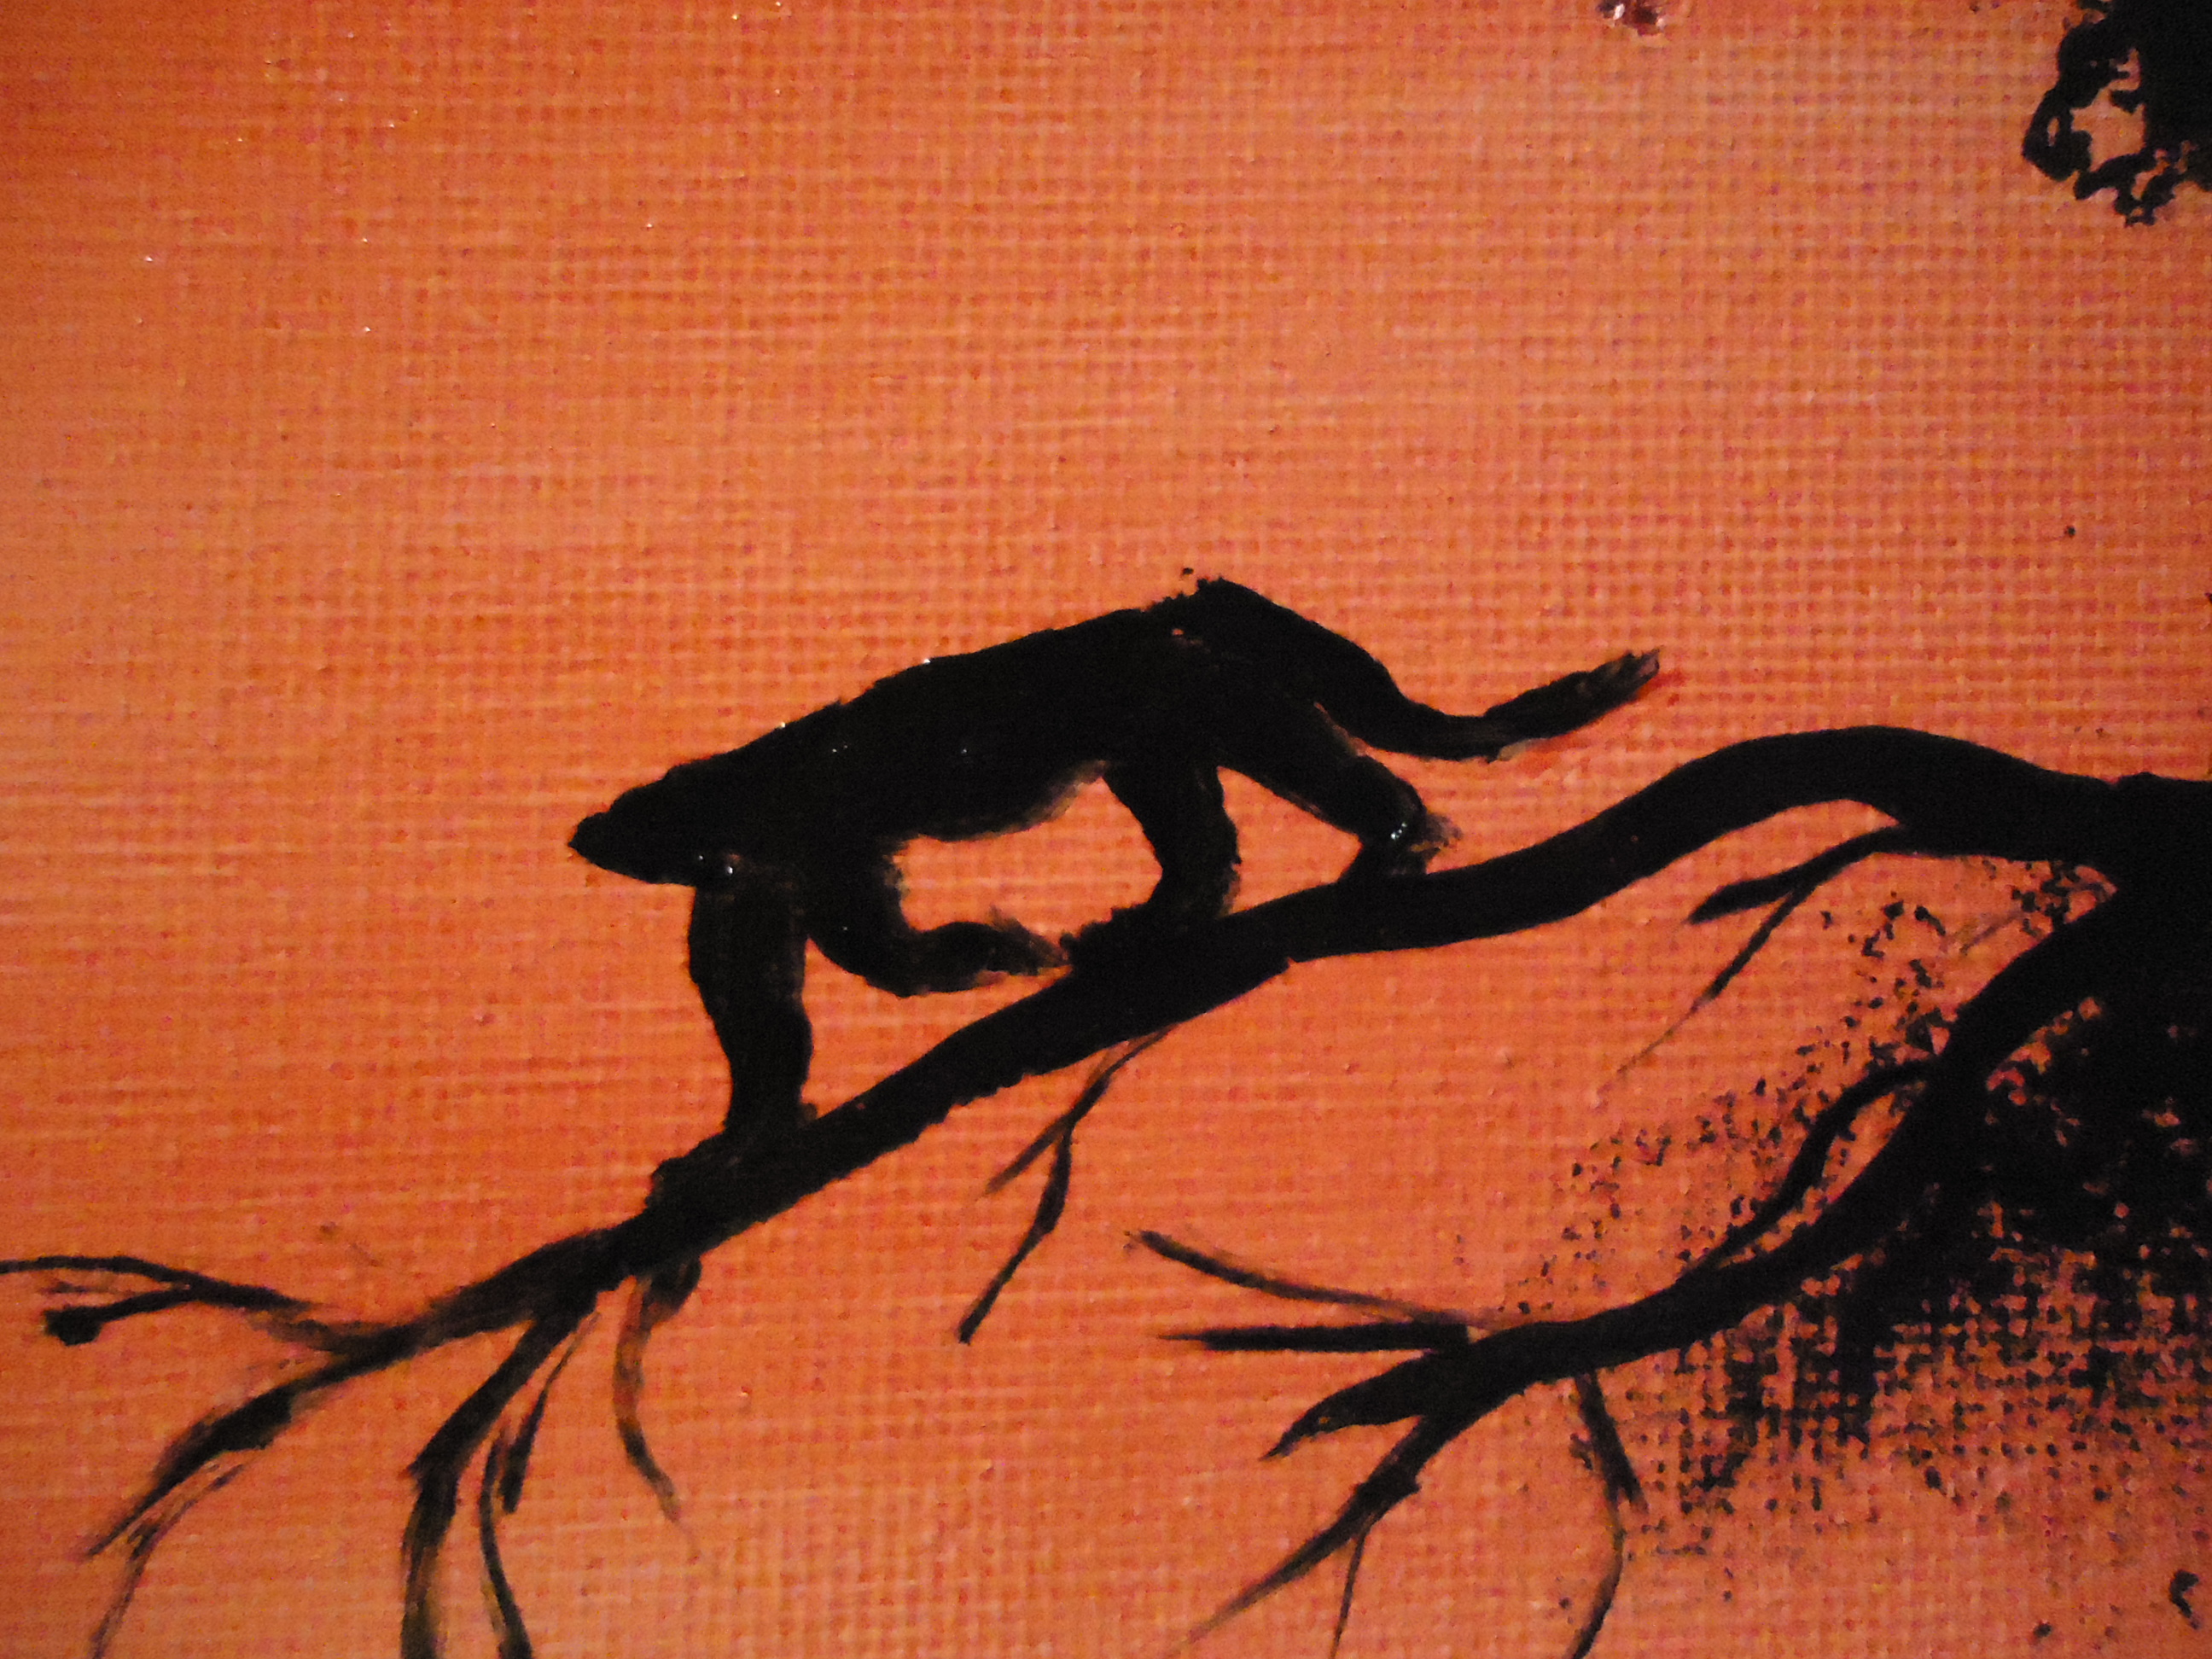
Continue with the rest of the body until you have the complete silhouette.
5. Take a step back, see if your creation fits and/or is in need of a friend and above all, enjoy the painting!
Fantastic guide! Thank you for this!