After the great response to my real wood effects, I decided to write this article and hope I can help to make your wood effect look a little more real, for decoration or as a background for your paintings
1. What you need
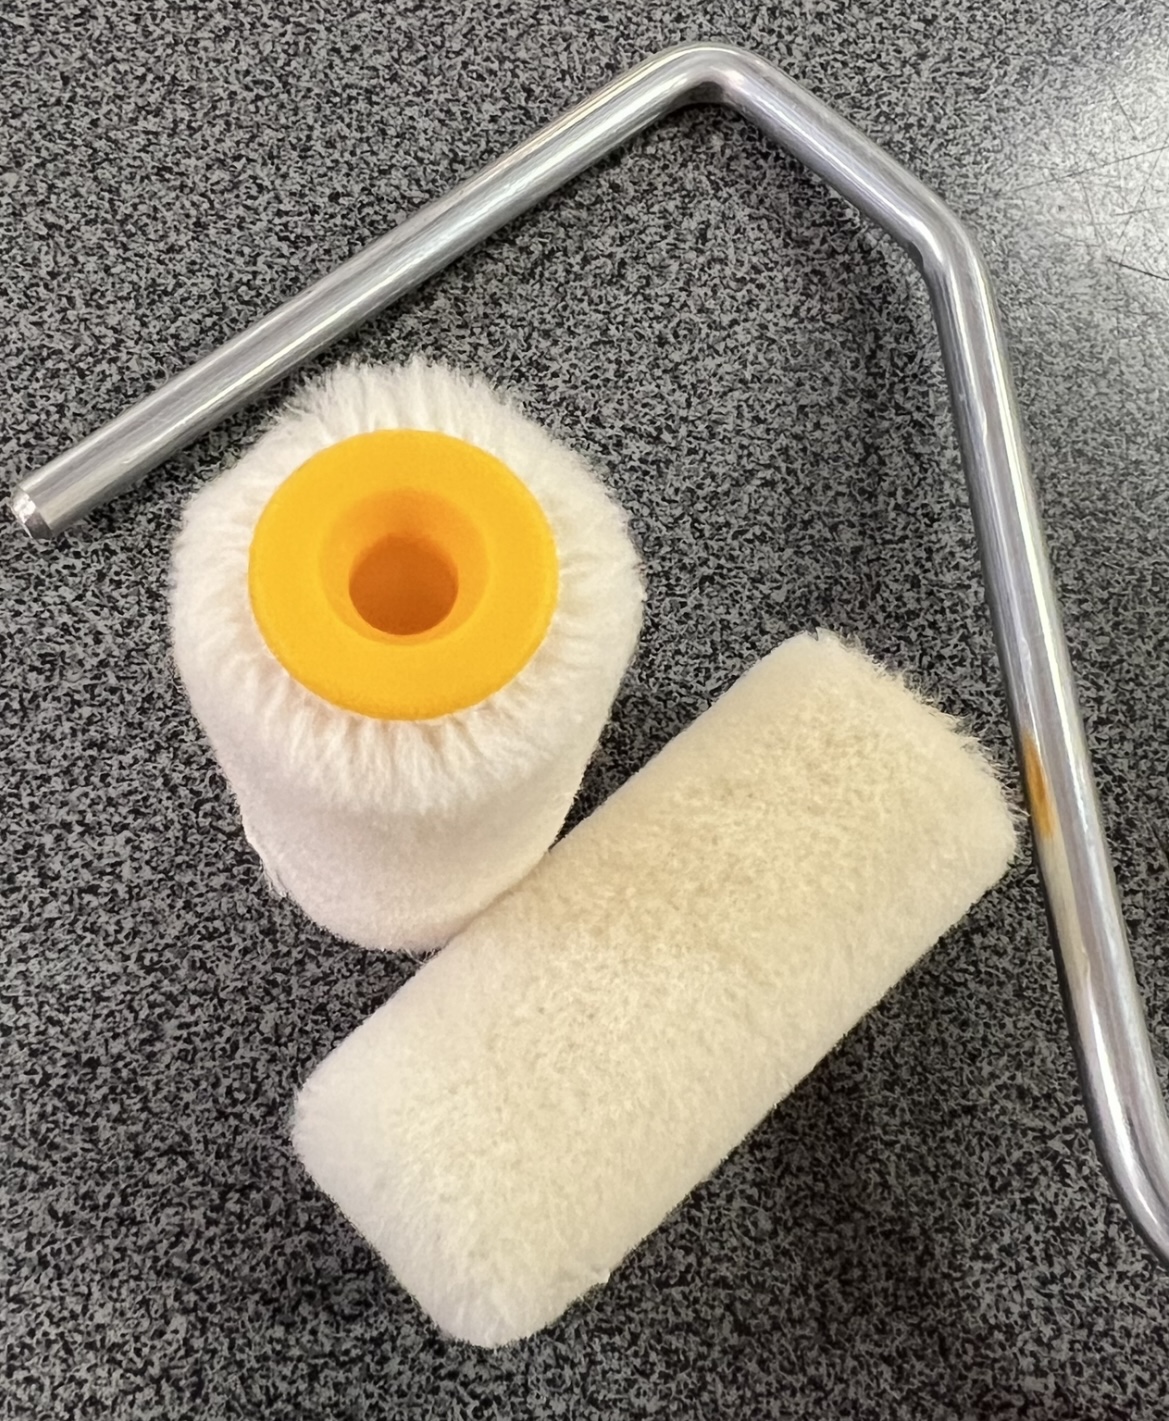
Knife, 1 inch brush, Filber or cat eye brush, Fan brusch, simple bristle brush with shortened bristles to 5/6 mm and a goat hair blender, microline color roller (Only as an option).
Canvas/Canvasboard,White Gesso, Acryl Paint,Oil Paint, Paintthinner .Paper towels
Pure working time about 1,5 hours plus grinding and drying times

 I chose Cocobolo wood here. An exotic tropical wood with many colors from gold ocker,orange red til a very dark brown ,to better illustrate it.I often use this wood for my custom made kitchen knifehandles
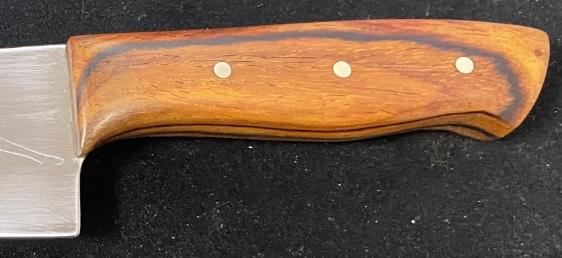

Here is a small selection so that you can see how multifaceted the colors of the wood are.
So now it's time to screw your wood effect to the next level. Then let's start 😎
2. Sample book and analysis
First you choose the wood you want to recreate. You can find on the net or in parquet/laminat catalogs. Take a close look at the characteristics you want to work on. Structure, surface,grain, etc.Then you make a plan where you want to place something on your canvas.
3.Priming
For the primer, mix white gesso with acrylic paint, in most cases the lightest tone you will find in your wood of choice. There are certainly exceptions for extremely light woods such as maple with few shades where it makes sense to prime with a slightly darker shade to create a lot of brightness on the surface.Here in my special case, I chose a medium tone because the gold tone would have become too intense. With this you prime your canvas or canvas board. Here I use my preferred format 24 x 30 cm( 9,45 x 11,80 inch) canvasboard.You do the whole thing twice.Normally,as here too ,I used a microfiber color roller, but it also works with any brush or other paint roller 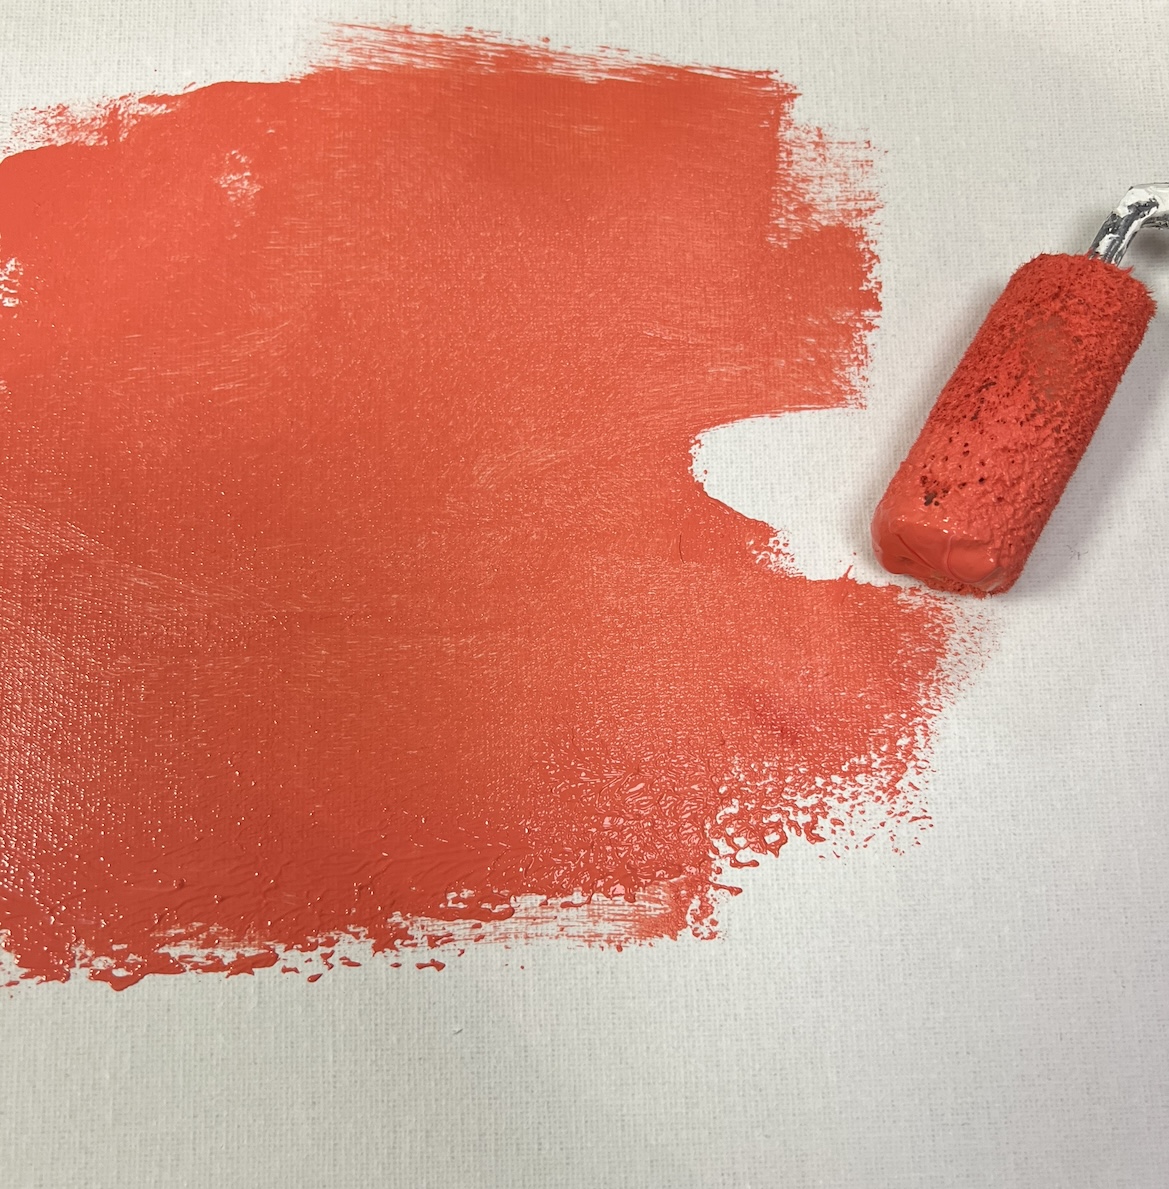
4.Little extra
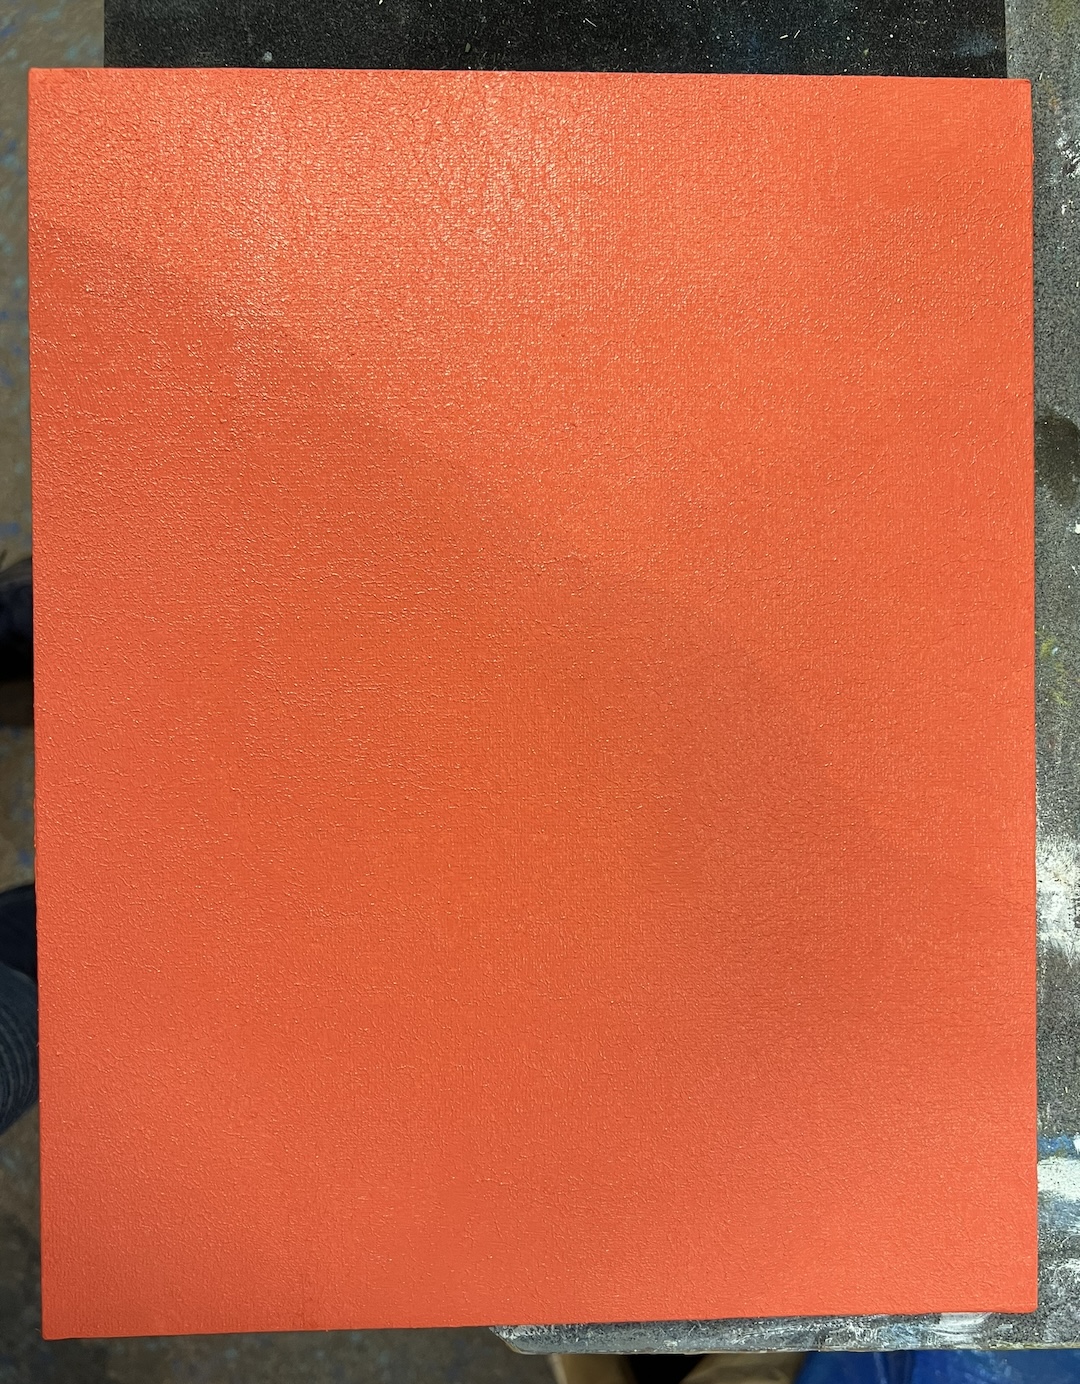
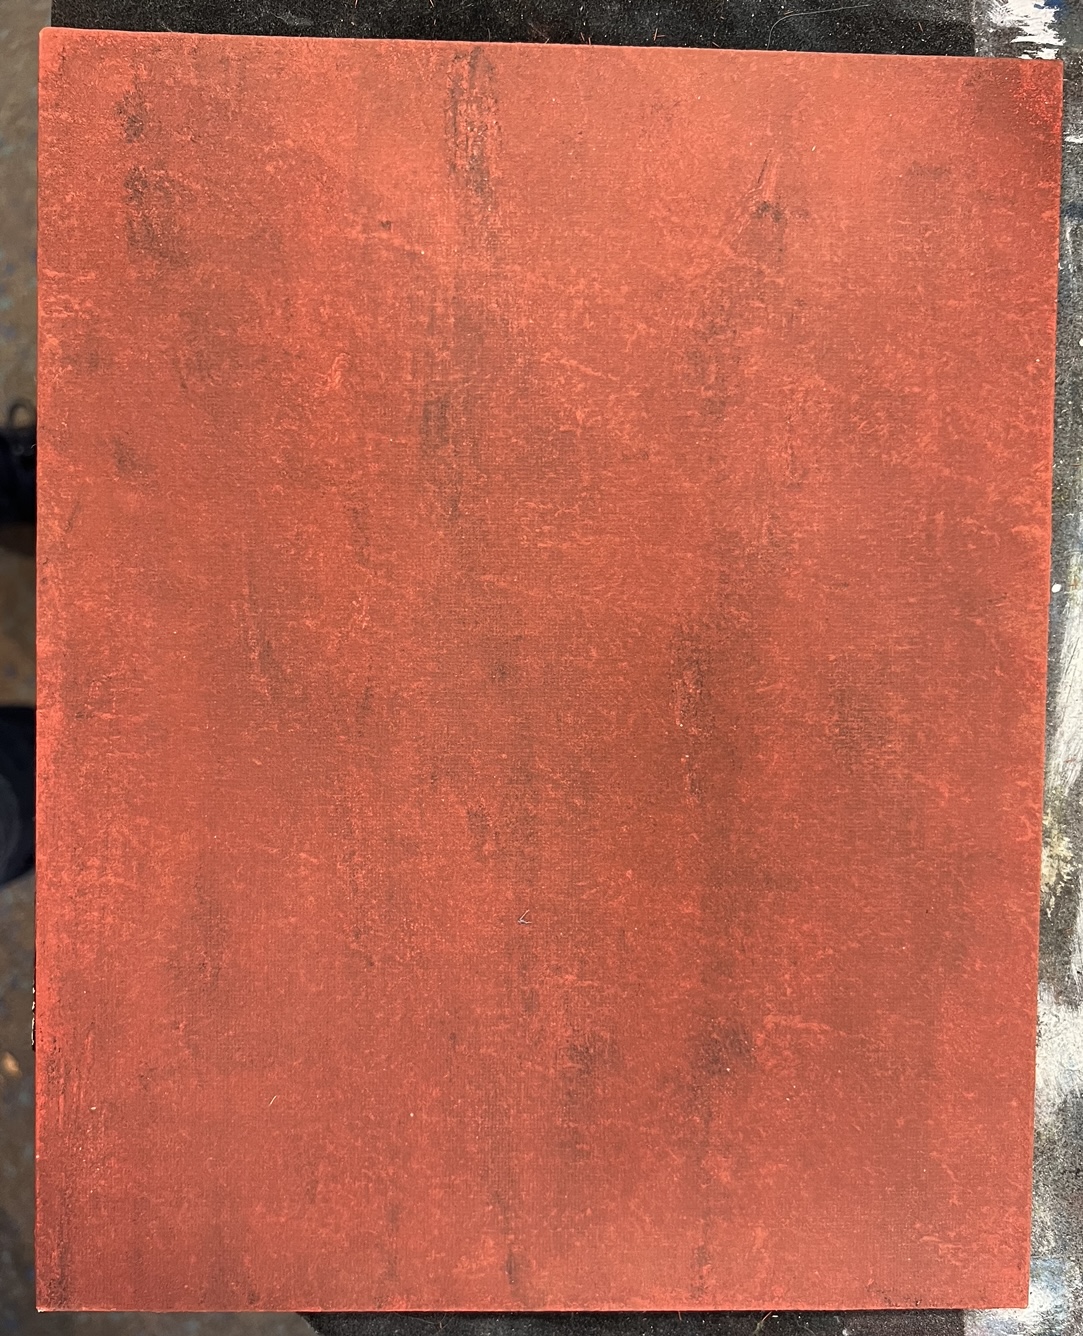
In order to give the whole thing an extra one and owe it to the wood of my choice, I also incorporated brown and black strokes and then after approx. 3 minutes simply rolled over again. The color gradients result automatically. The structure is due to the roller.But that doesn't matter because you have to grind anyway.Let the whole 45 minutes dry.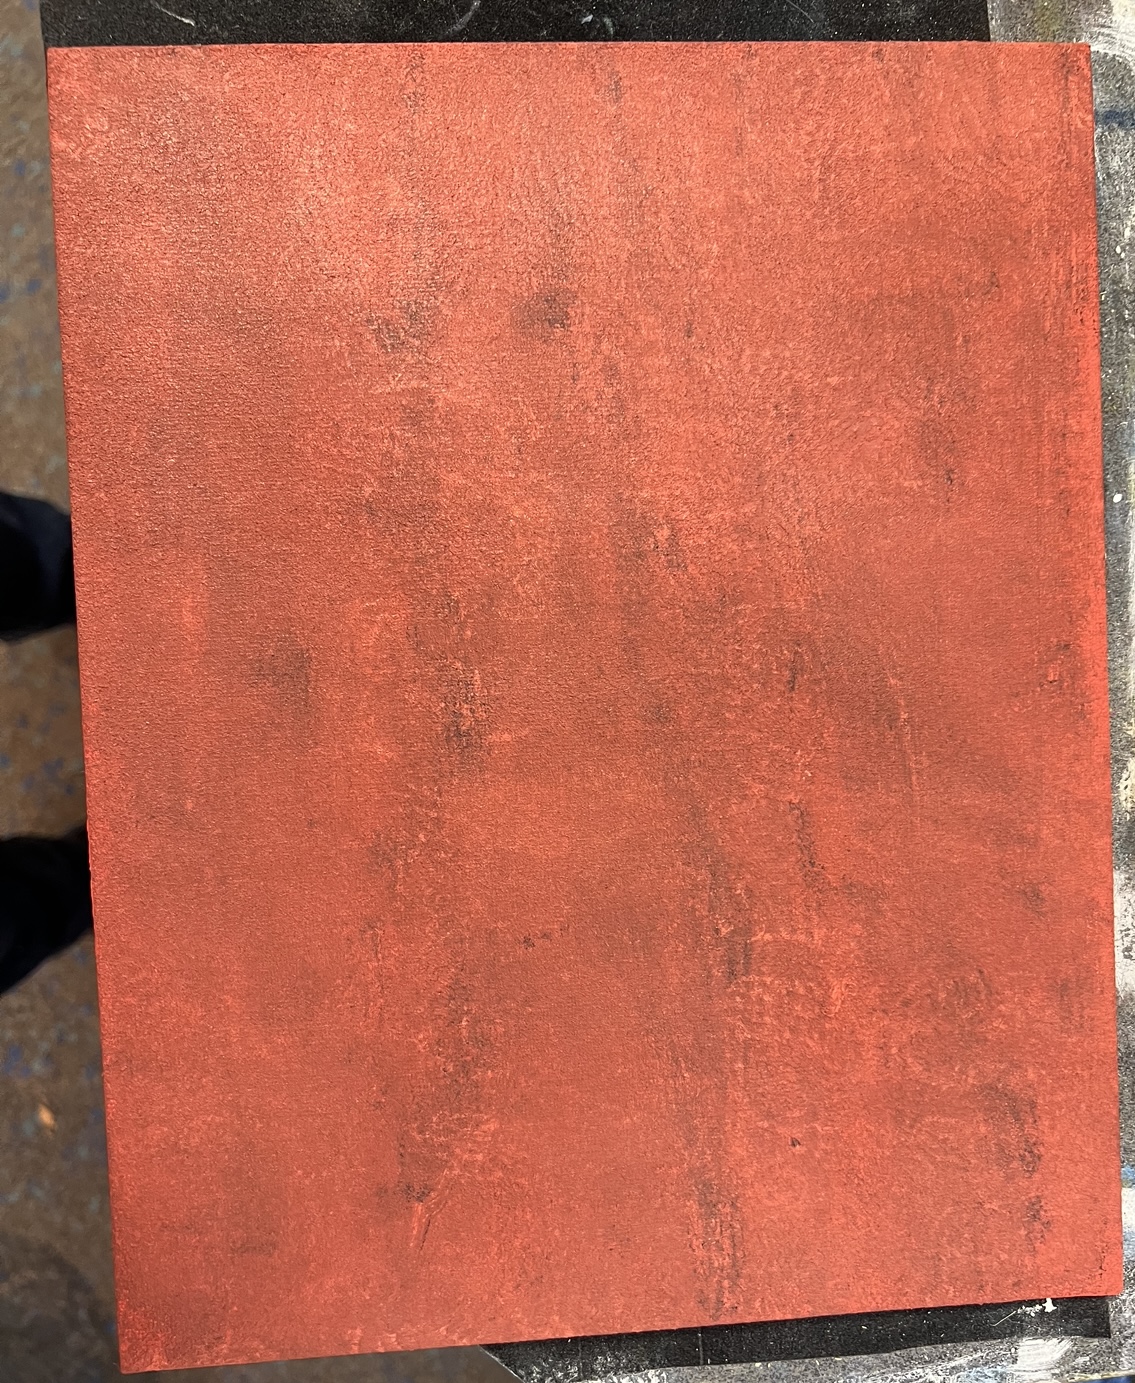 5.Sanding and dust removal
Now you start grinding with Sandpaper .First with grain size 240 then grain 400. Up/down and across, as smooth as possible. When you're done, remove the dust well. Best with a slightly moistened paper towel and let it dry for 15 minutes.After that, you can apply liquid clear, as usual and with a paper towel remove the excess that only a thin film remains.As much as necessary, as little as possible .
 6. Mix wood tones
Look at your desired wood again and decide on several colors that you recognize in it. You can mix these from your oil paints as usual. The brand of the oil paint is not decisive, it should only be a good quality.As a rule, 3-4 mixtures of . The colors can remain quietly marbled, not mix dead.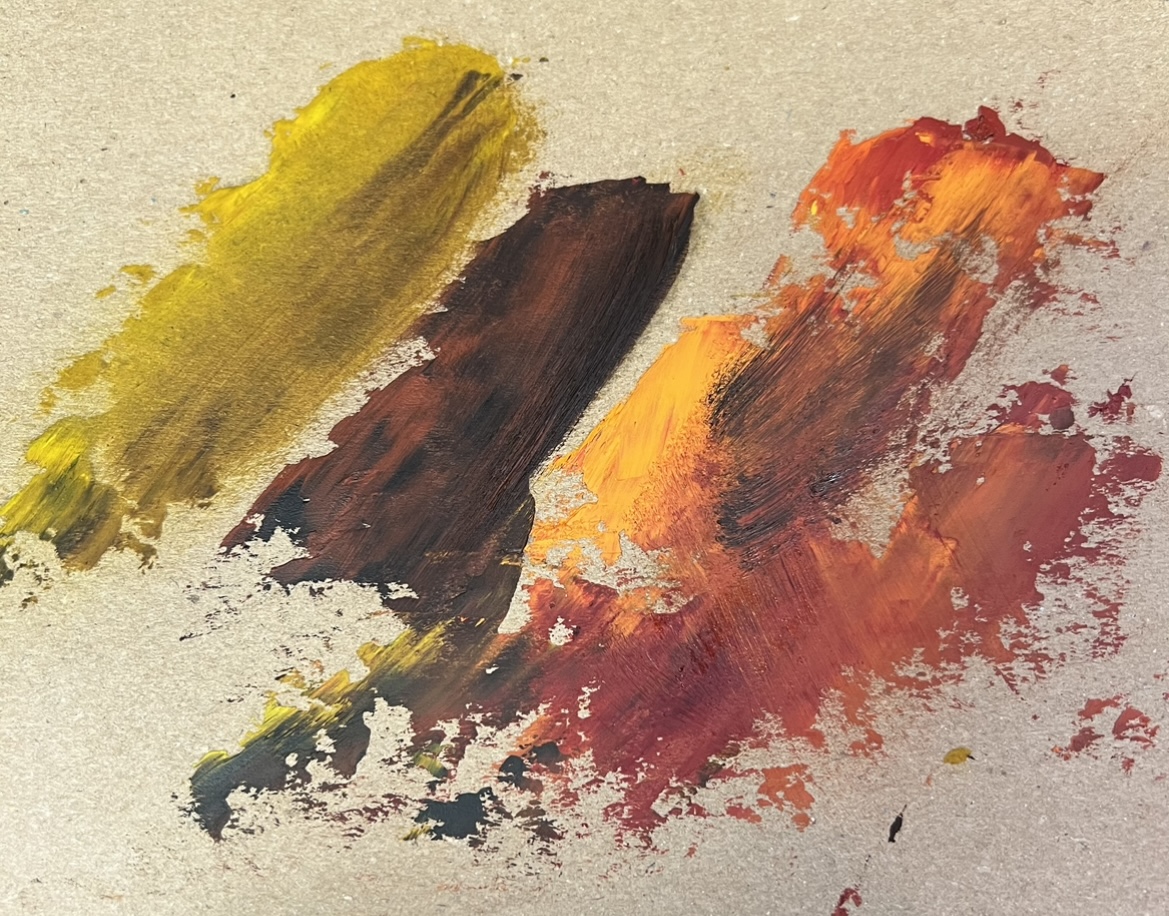 7.To apply colors
On the basis of your choice of wood ,you can see the color gradients, grain, etc. Try to take exactly this into account when applying and accordingly incorporate it with the 1 inch brush into the liquid clear, with light pressure. Take your time. Blend transitions, always pay attention to enough contrast, structure gradients, imitate grain whatever you see and want in your wood effect.Do it now because that is the foundation stone and is crucial what your "wood" will look like 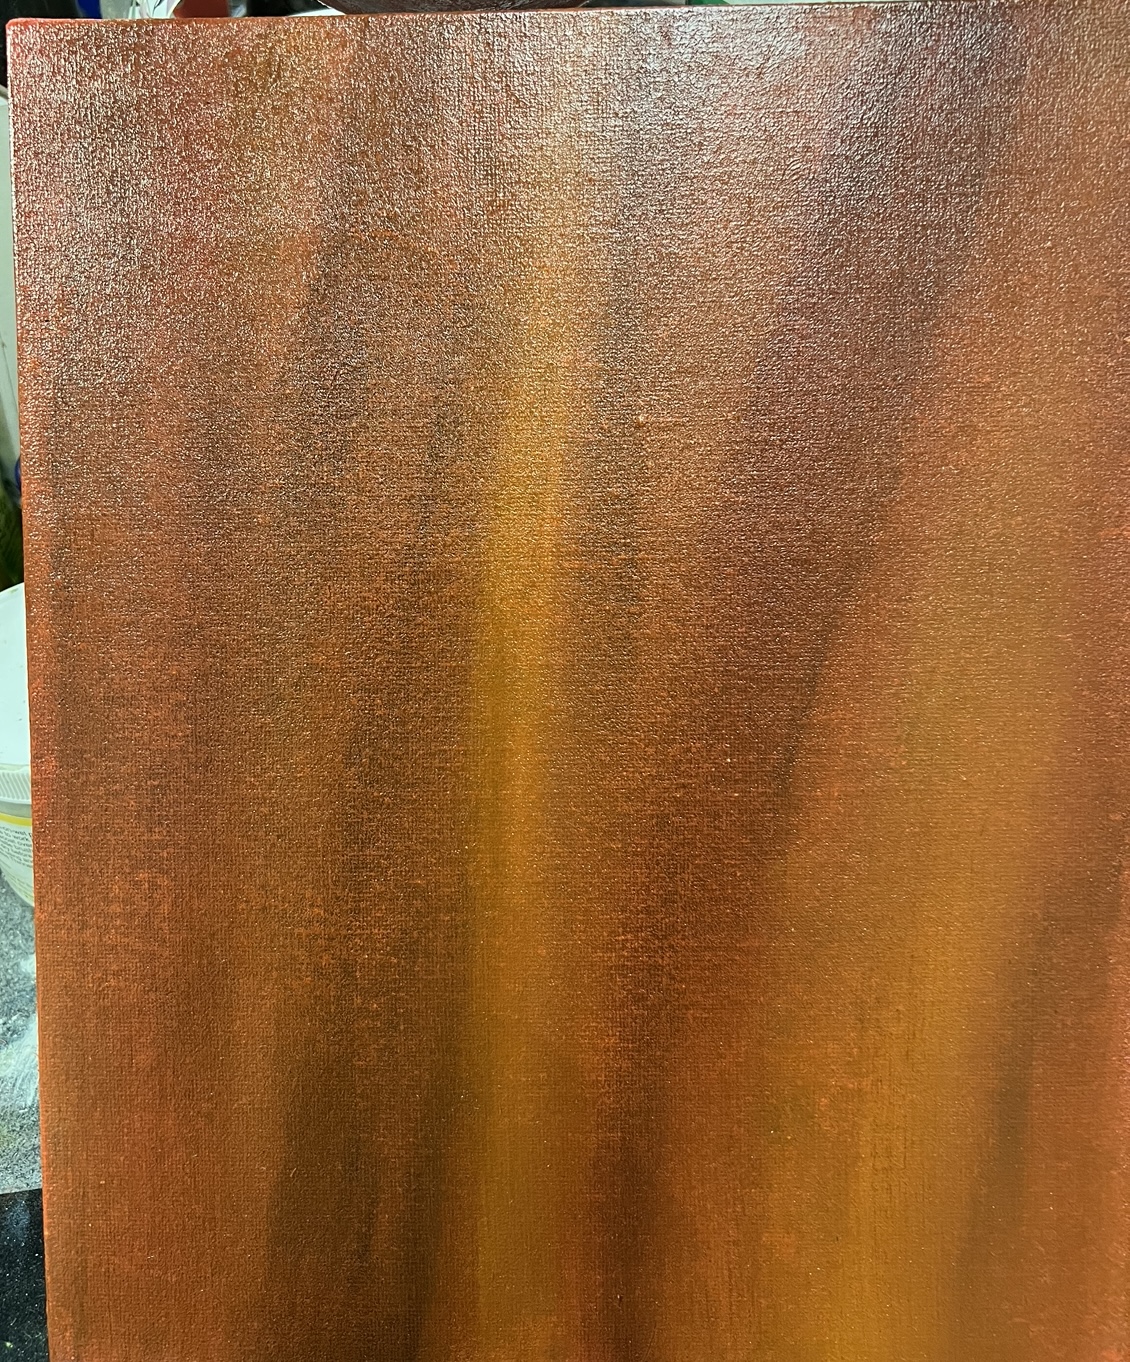
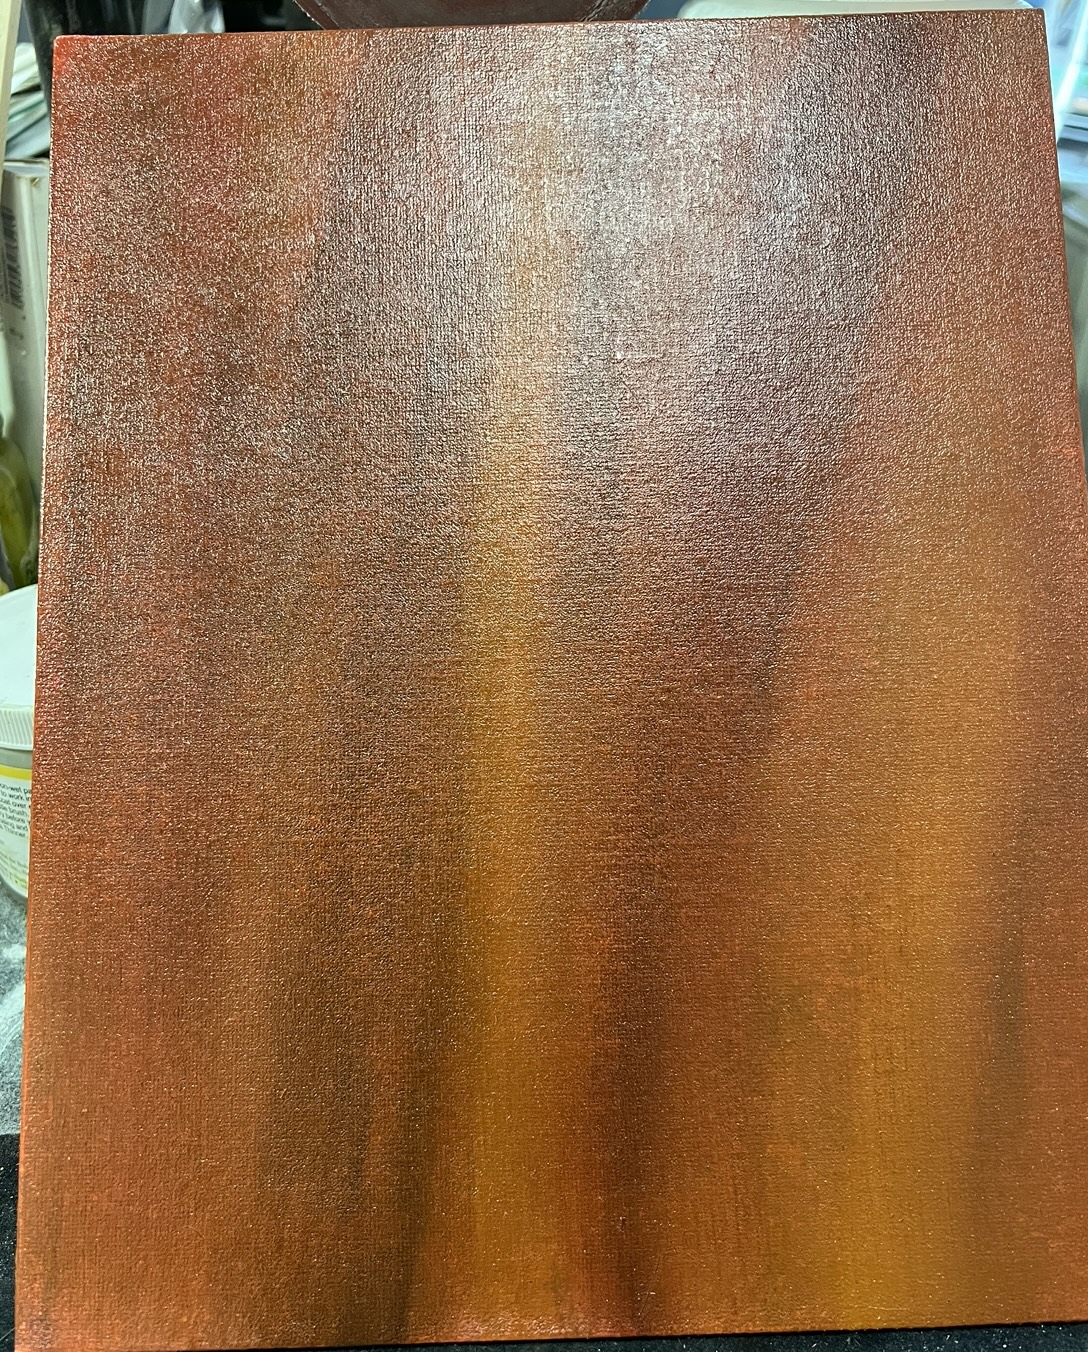 8.Paintthinner
Now the thinner comes into play. Make sure that you always use fresh thinner, not old filtered ones. There are better results.Similar to Bob, you pick up the thinner with the fanbrush, lightly dab it on a paper towel and bring it to the canvas. Try to think about your wood again, where the grain should go, what you want to emphasize, etc. And deliberately does not do it by chance. That's what makes the difference. Not too large bows or only from top to bottom, simply bring a nice movement into the "wood" which corresponds to the original. Pull, tap, pull grooves, fanbrush transversely and longitudinally, etc. .You can repeat the process several times, but very gently so that there are good transitions. Try and practice everything you like. When processing, you can already see how the thinner reacts with the liquid clear. If you don't like something directly back in with the fanbrush and change. Gently dab out too much thinner with the paper towel and go on. Then let the whole thing rest for 20 to 30 minutes and take a look at it. You can already see the reaction like in the photos.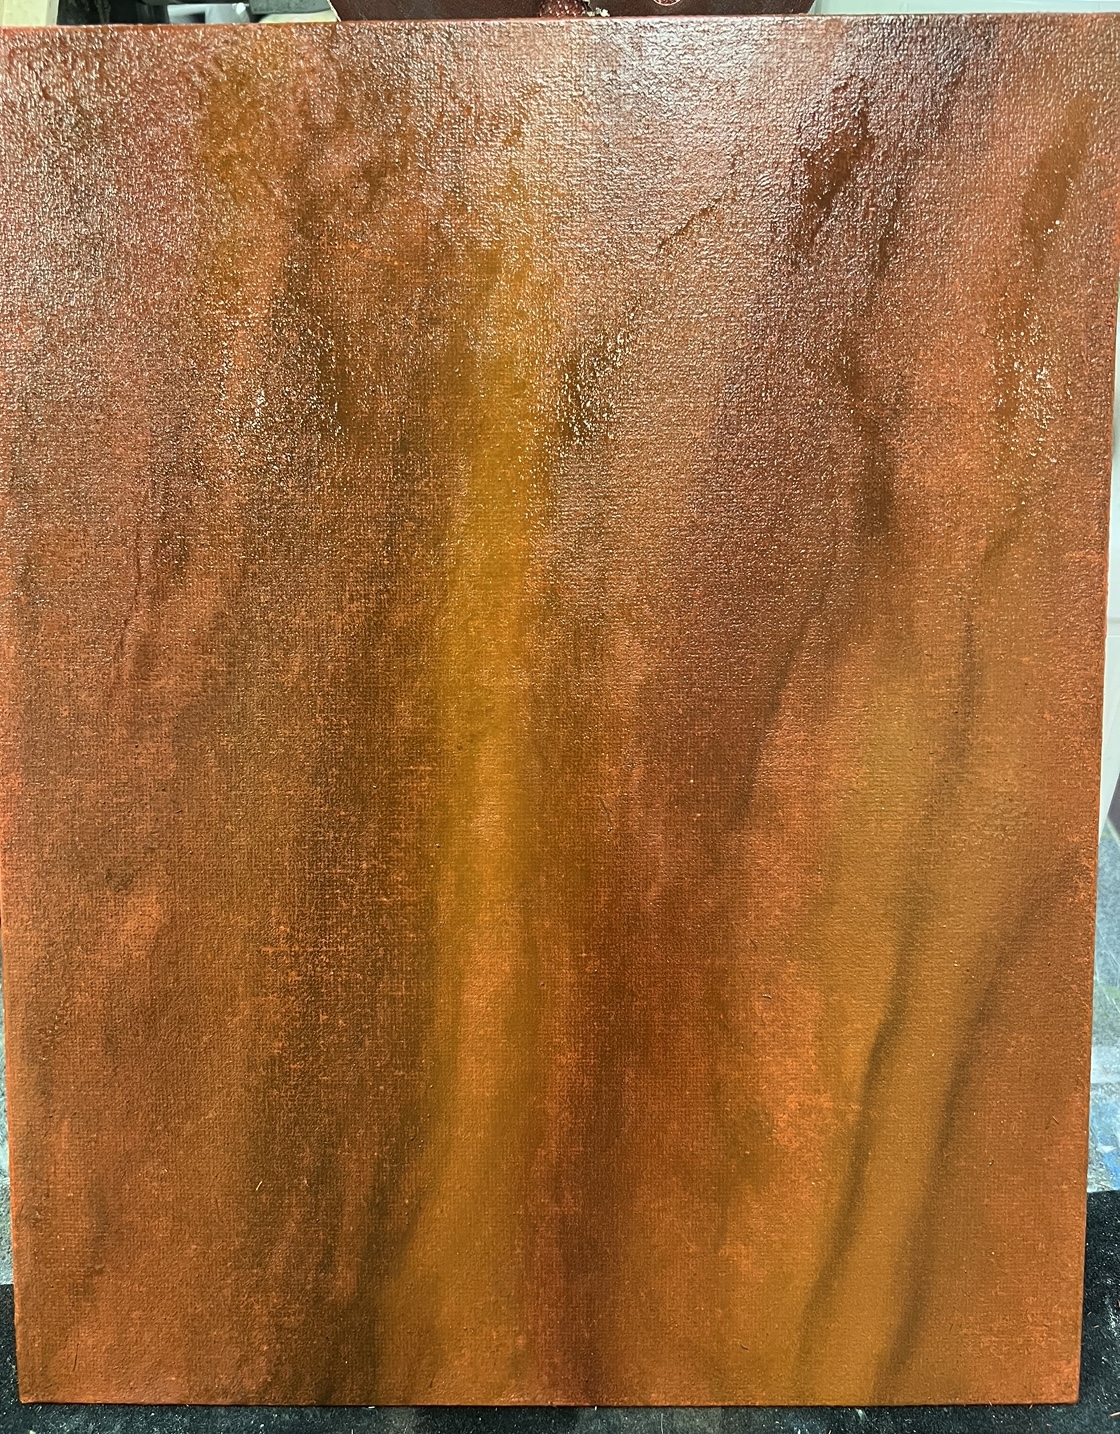
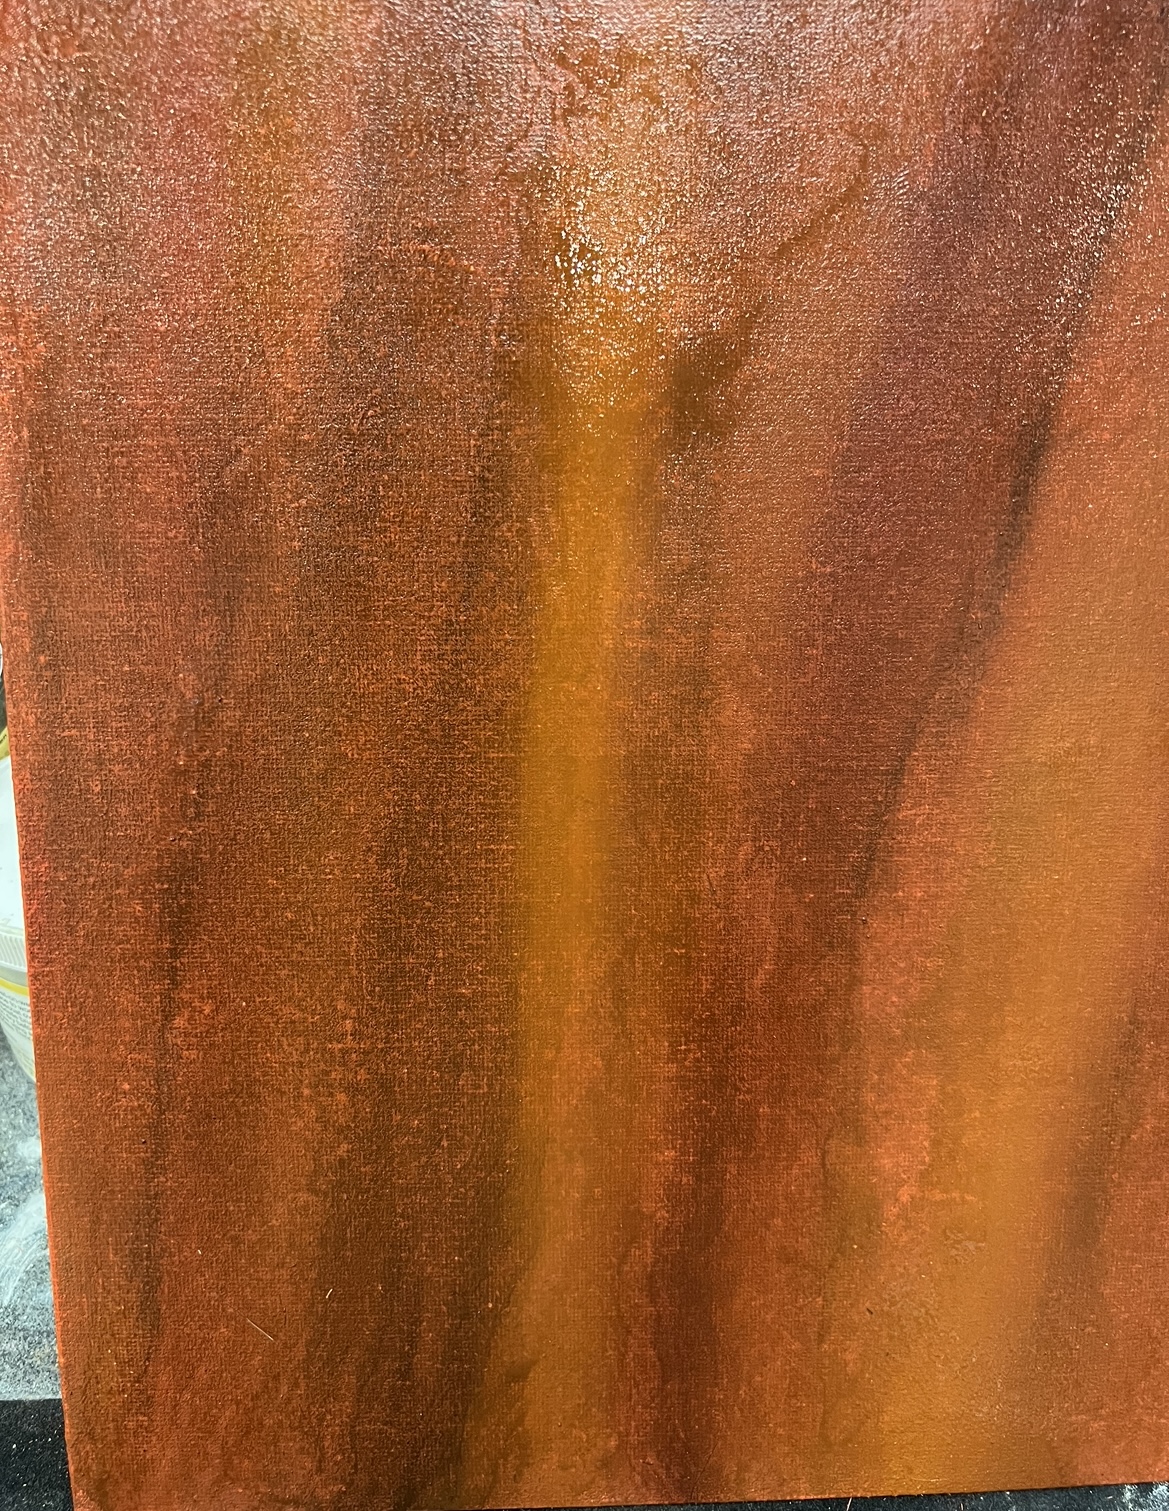 9.Last measures
If you are then satisfied and happy with your work , let ist dry for another 15 minutes Then you can take your blenderbrush or goat hair brush as the last touch and blend it super gently from top to bottom. Makes this super soft from the transitions and absorbs even superfluous thinner.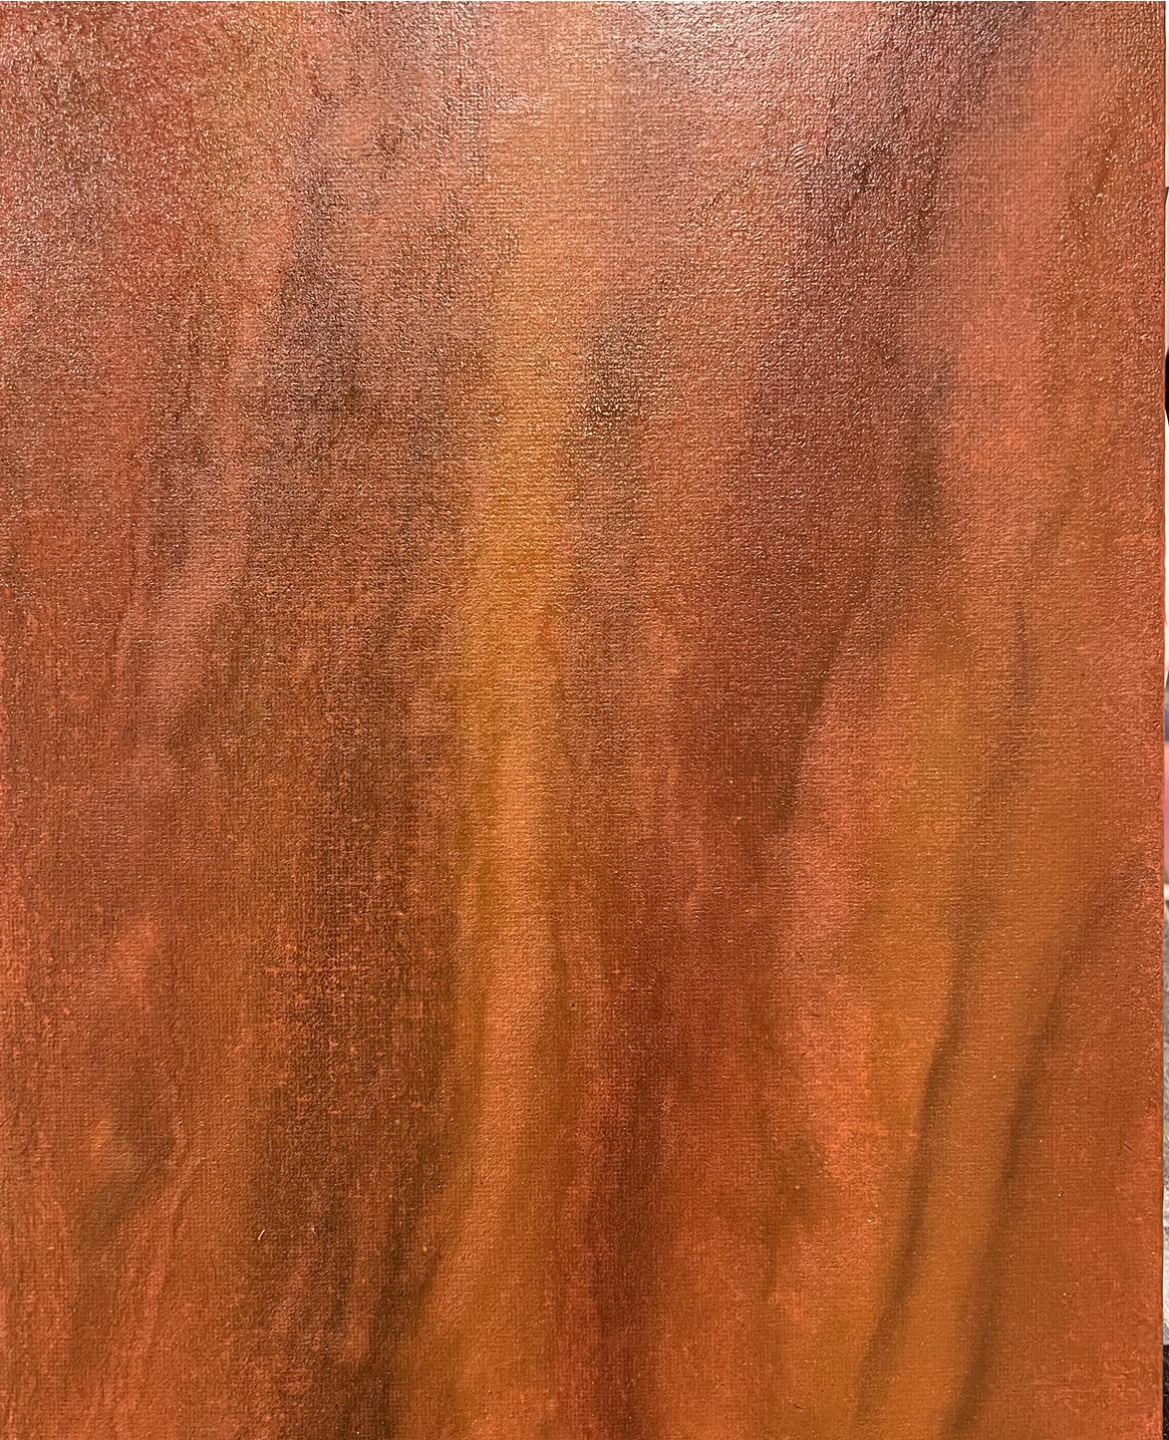 10. Last Thing
If you want to add a branch hole, you can do it with the shortened bristle brush or with the cat ey/ Filberbrush. To do this, you choose a suitable place, take in minimal color on your brush .Then you press relatively firmly on your canvas/ canvasboard , so that the brush bristles already form a circle and rotate the brush once / twice in a circle. If you do it with two different colors, you will reach more depth.Then you carefully blend the edges of the branch hole,top and bottom .Done.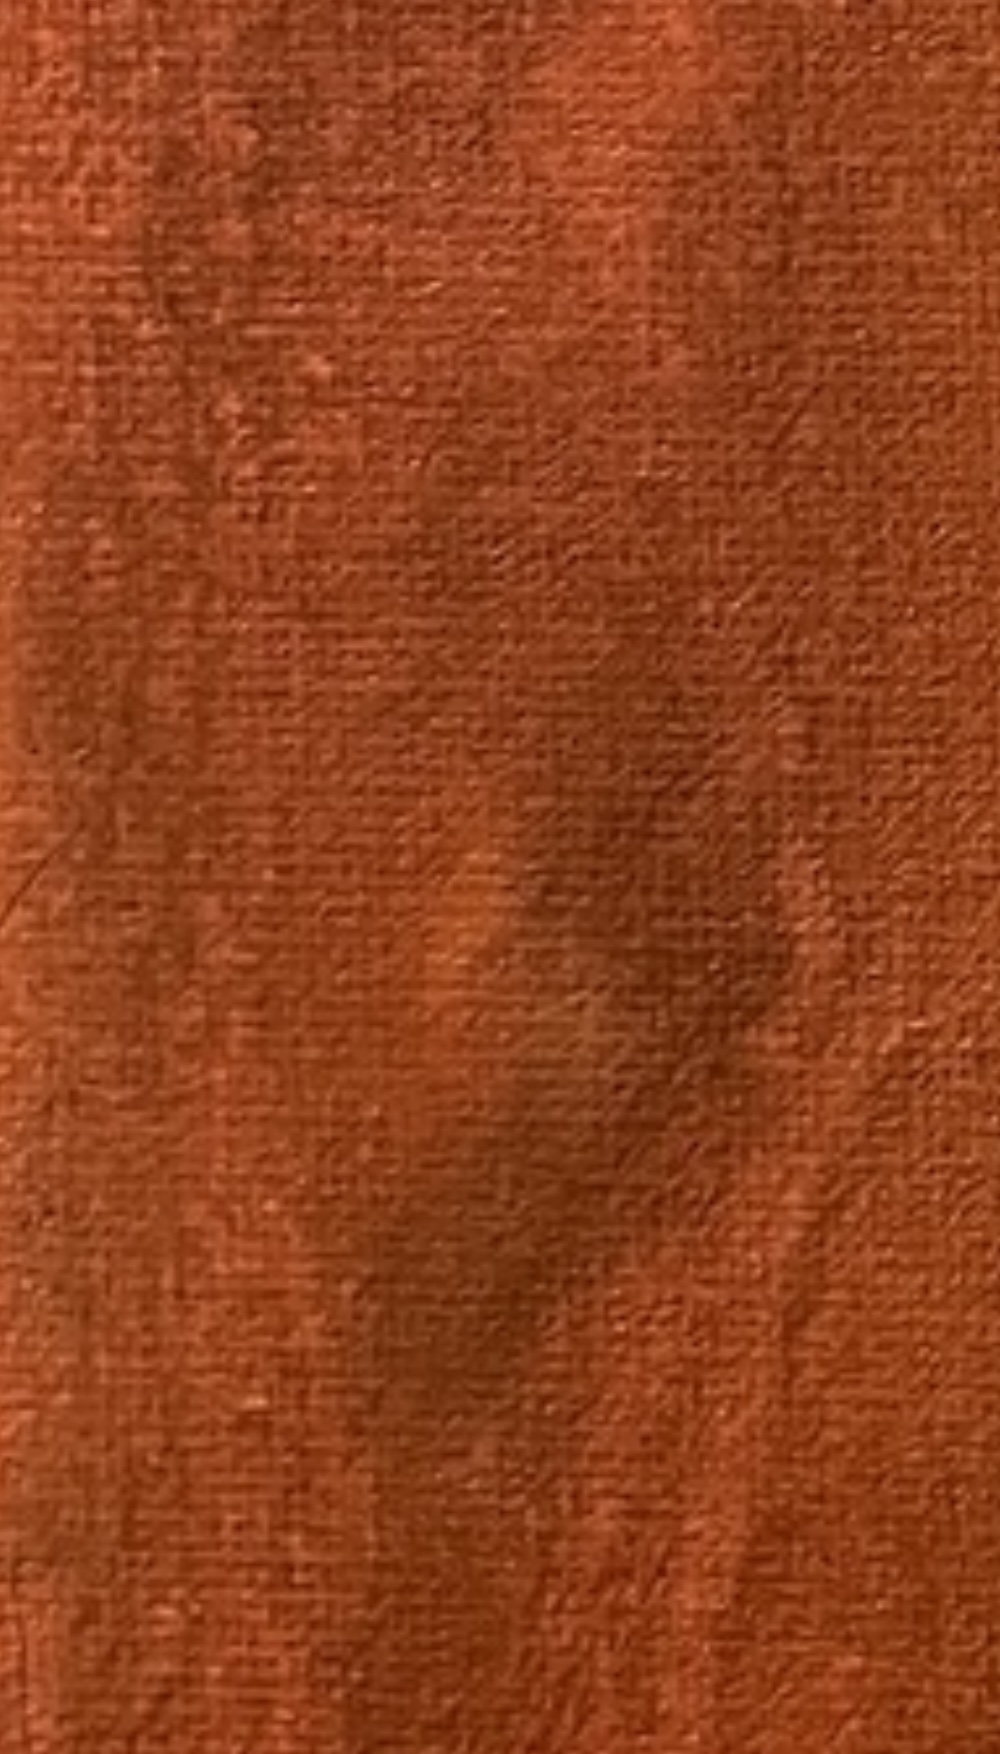
This is the close-up from the next picture, at the bottom ,left side.
I hope that I was able to help you with this and that you just start the attempt. As always, practice makes the master. Have fun trying it out and like Bill would say „no mercy , fire in „ 😎🇩🇪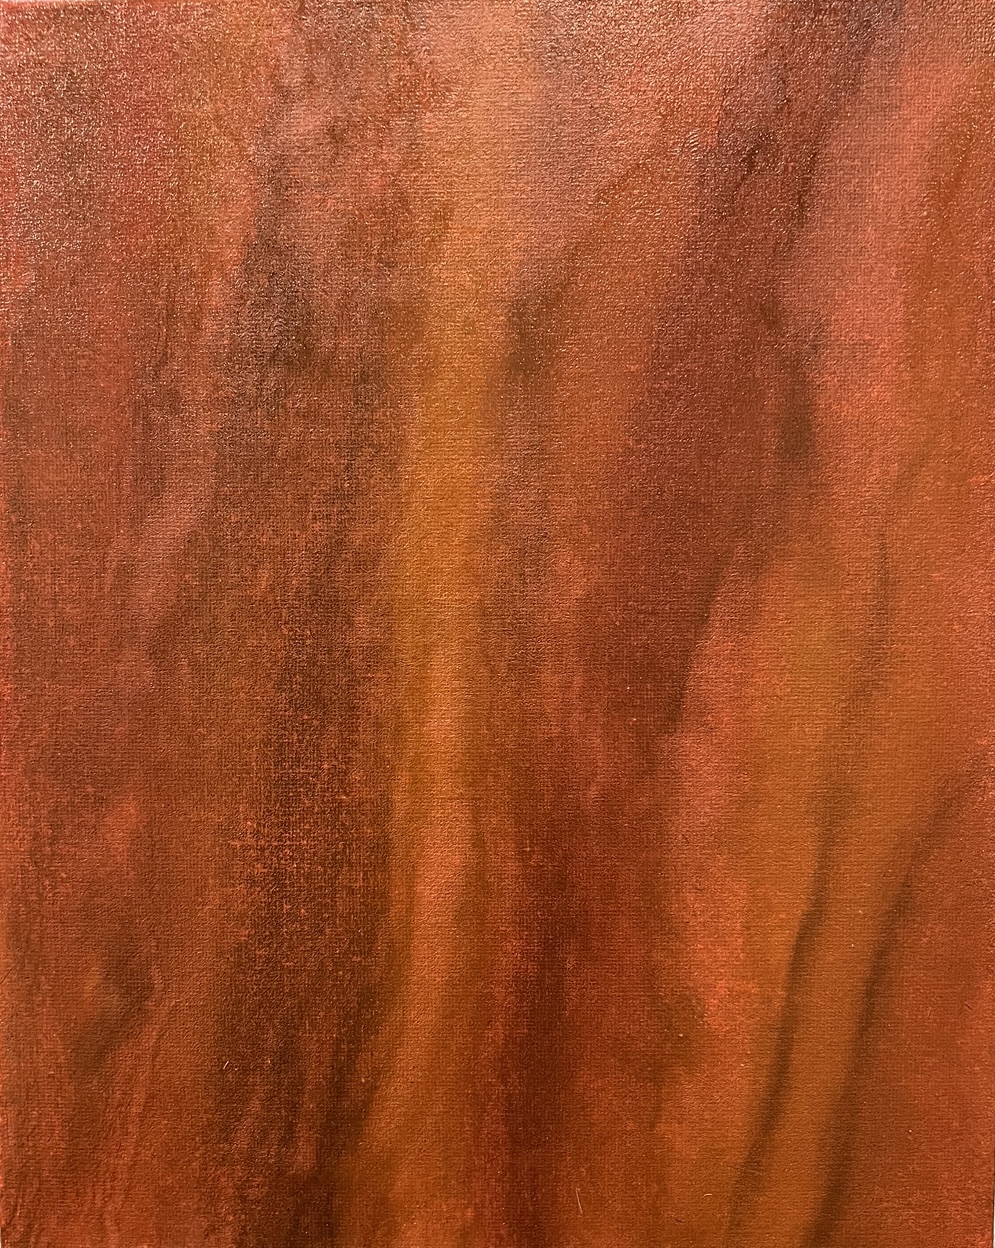 Totaly fresh
 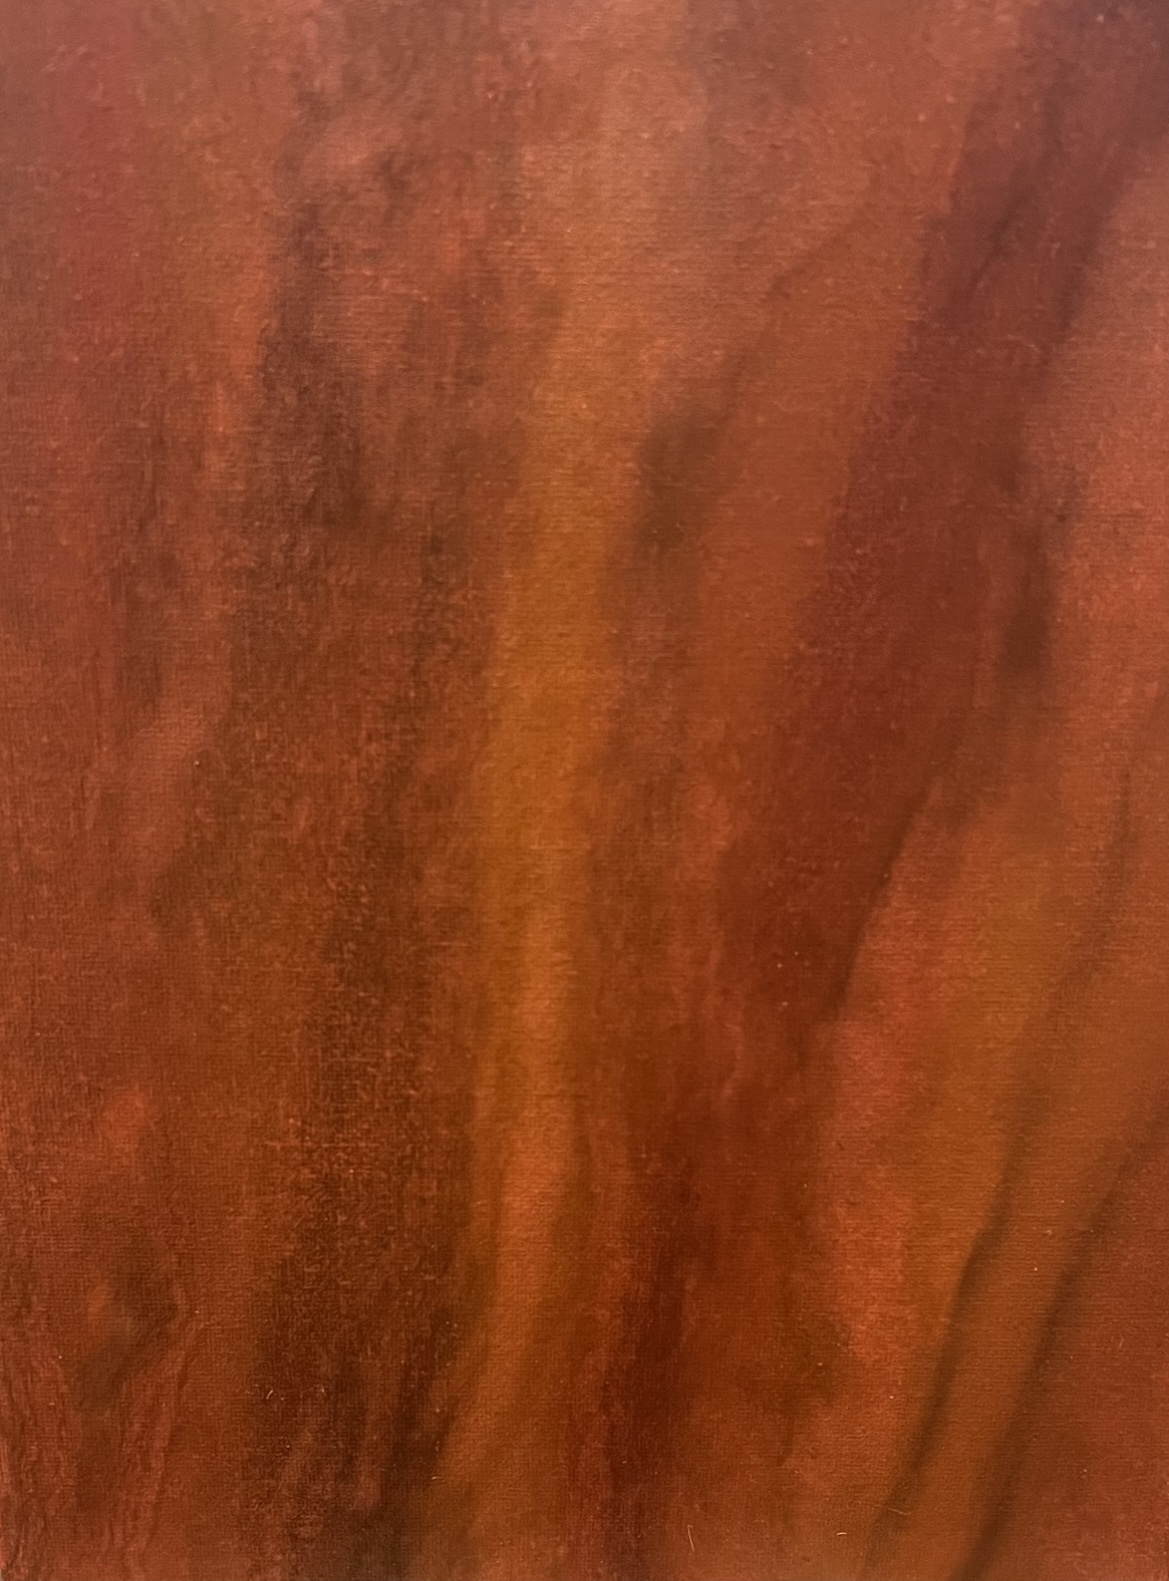 After one day drying
W🤩W!!! This is great article my friend! 🇩🇪🙌🏼 So complete and easy to understand. I look forward to trying it. Thank you very much for sharing your knowledge!